Status Page
Status pages help you communicate with your users about any real-time incident or scheduled maintenance. Status pages are mainly used to ensure that users are updated about an incident that has happened or is about to happen. By keeping your users in the loop, you can provide more transparency during communication.
To add a status page:
1. Log in to StatusIQ.
2. Click on the Add Status Page button.
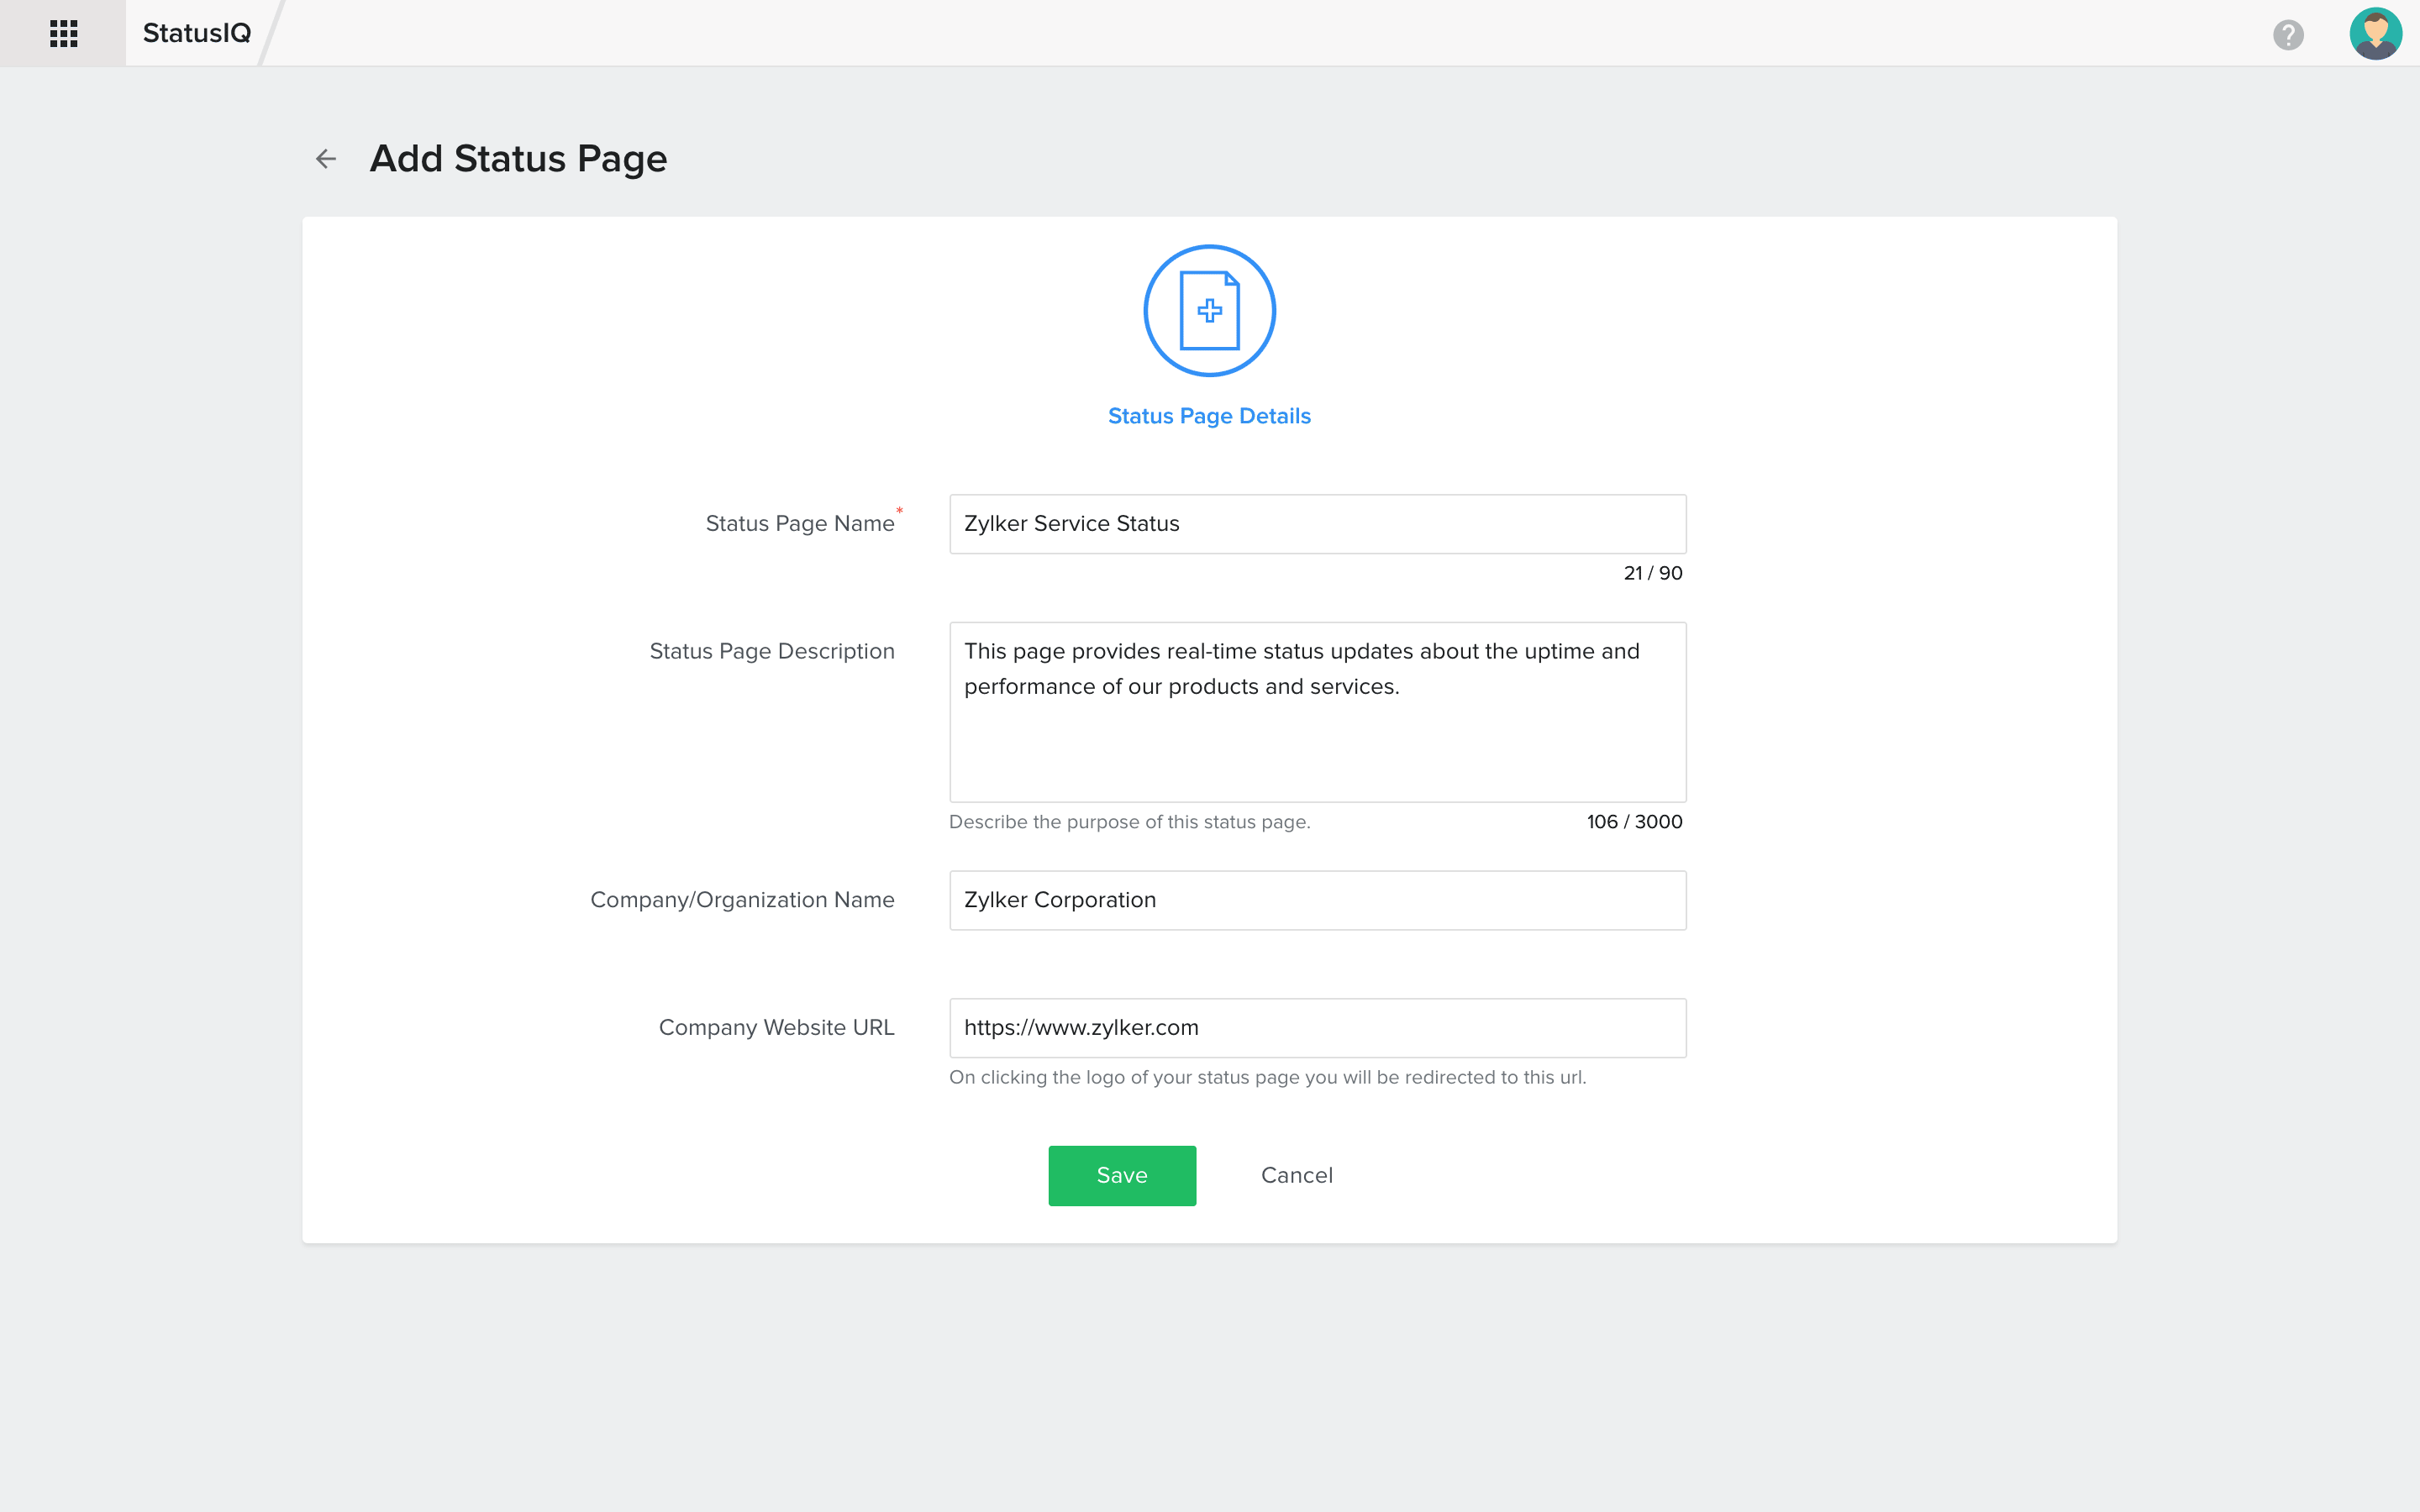
3. You will be directed to a new page wherein you will have to provide the details of the status page.
- Status Page Name: This is a mandatory field where you have to enter the name of the status page.
- Status Page Description: Add a brief description about the status page. This field can be used to state the purpose of the status page. This is an optional field.
- Company/Organization Name: This is an optional field where you can provide the organization name. While sending email alerts, the information provided in this field will be used in the email subject line.
- Website URL: In this optional field, the URL of the web resource can be provided. Users will be able to access this website by clicking the logo of the status page in the public status page.

4. After filling up all mandatory fields, click the Create Status Page button.
Edit a Status Page
To edit a status page that you have created, click on the icon on the right side of the home page of StatusIQ, and choose Edit. You will be redirected to the Status Page Details page where you can make necessary changes. Once you've finished making changes, click Save Changes.
Delete a status page
To delete a status page, you can click on the ![]() icon on the title bar in the StatusIQ home page, and choose Delete.
icon on the title bar in the StatusIQ home page, and choose Delete.