Customize transaction names via .NET agent API
Keep track of business-critical transactions and identify them easily by customizing transaction names using the .NET agent API.
To do so, follow the below given instructions.
Steps:
- Install APM Insight .NET agent or APM Insight .NET Core agent based on your application environment.
- Download or reference the package Site24x7.Agent.Api from the NuGet package manager to your application project.
Note: The API has a class named Site24x7.Agent.Api to track the performance of application code. - Use the method SetTransactionName(string customTransactionName) to set a custom name for a transaction.
|
Parameter Name |
Description |
|---|---|
|
customTransactionName |
The name of the transaction. Only the first 255 characters are retained. |
Example:
The following method illustrates how to set a transaction name via the API.
public int UserLogin(string email, string sessionKey, bool isExternal)
{
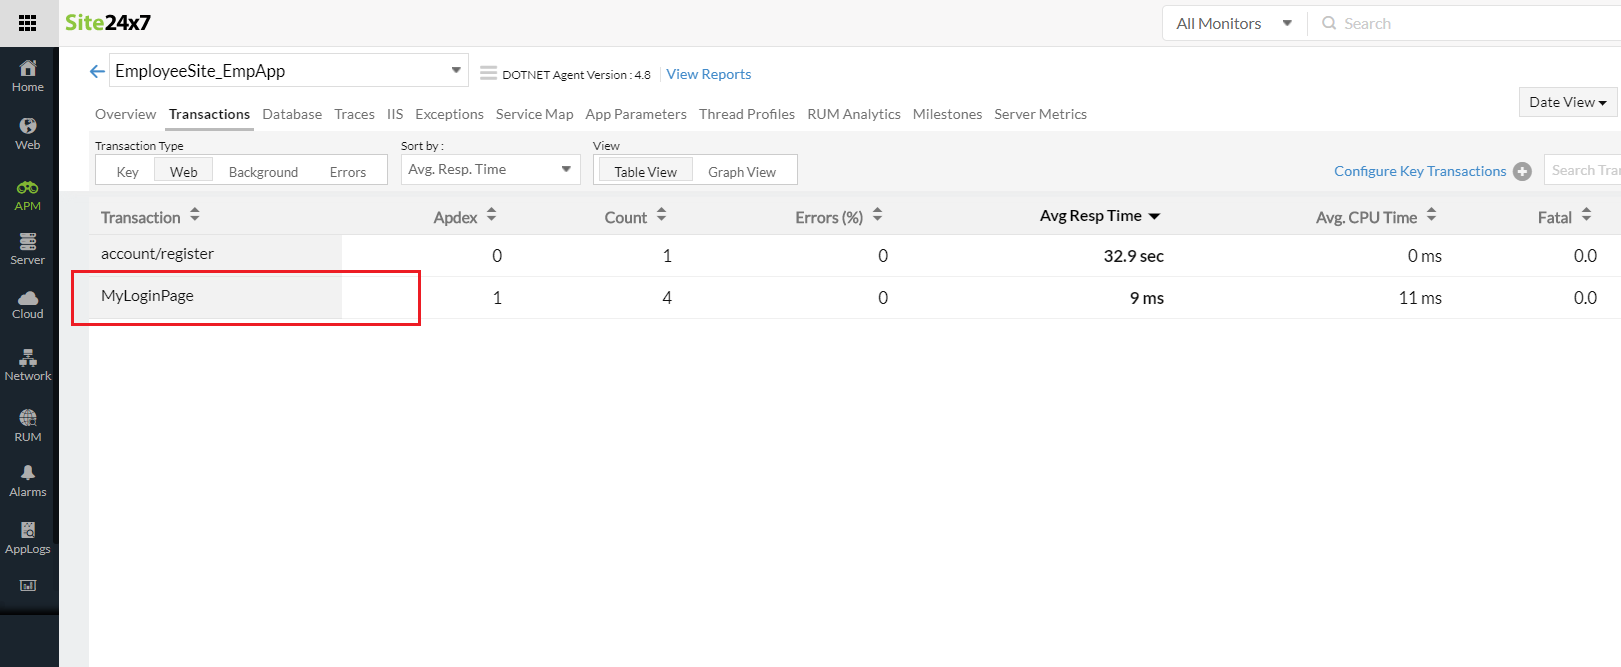
          Site24x7.Agent.Api.SetTransactionName("MyLoginPage");
          //Your application code goes here..
}
- When a single transaction is called multiple times, the name used in the first call will be used as the transaction name.
- Unique values such as session ID, page titles, or GUID should not be used in naming transactions.
- The maximum number of unique transactions allowed is 350, as the transaction storage limit is set to that number.
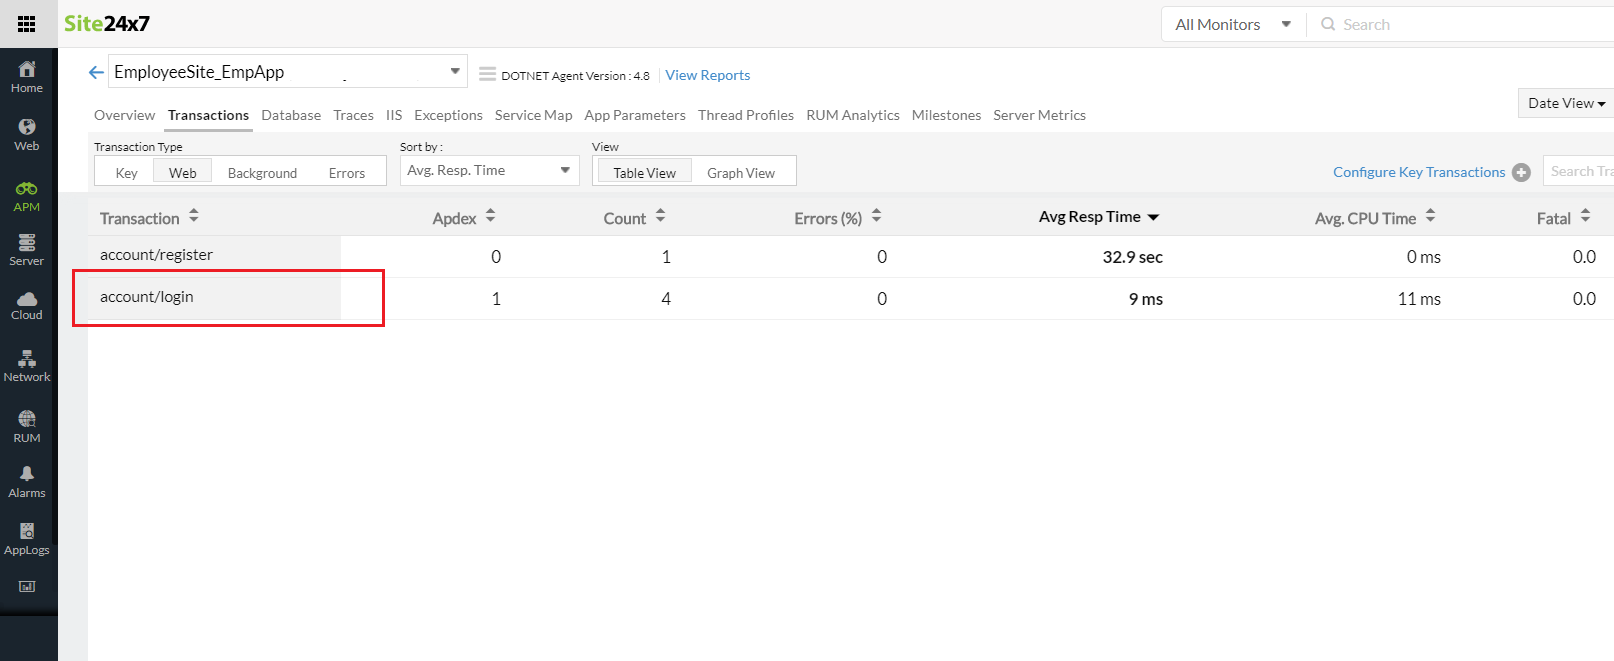
Before Renaming:

After Renaming:

