Install .NET Core agent using NuGet
- Add the NuGet package Site24x7.APMInsight.Agent to your .NET Core project using the Package Manager in Visual Studio.
PM> Install-Package Site24x7.APMInsight.Agent
- Set the below environment variables, and replace with the necessary configuration:
CORECLR_ENABLE_PROFILING=1
CORECLR_PROFILER={9D363A5F-ED5F-4AAC-B456-75AFFA6AA0C8}
CORECLR_PROFILER_PATH_64=APP_DEPLOYMENT_DIRECTORY\site24x7\core\x64\ClrProfilerAgent.dll
CORECLR_PROFILER_PATH_32=APP_DEPLOYMENT_DIRECTORY\site24x7\core\x86\ClrProfilerAgent.dll
CORECLR_SITE24X7_HOME=APP_DEPLOYMENT_DIRECTORY\site24x7\core
DOTNET_ADDITIONAL_DEPS=APP_DEPLOYMENT_DIRECTORY\site24x7\core\additionalDeps
DOTNET_SHARED_STORE=APP_DEPLOYMENT_DIRECTORY\site24x7\core\store
S247_LICENSE_KEY=SITE24X7_LICENSE_KEYNote- After publishing the application with the agent package added via Nuget, the folder site24x7 will be automatically created in the application's publish directory.
- Once the application is deployed to production, you must replace the value of the environment variable APP_DEPLOYMENT_DIRECTORY with the publish directory of the application.
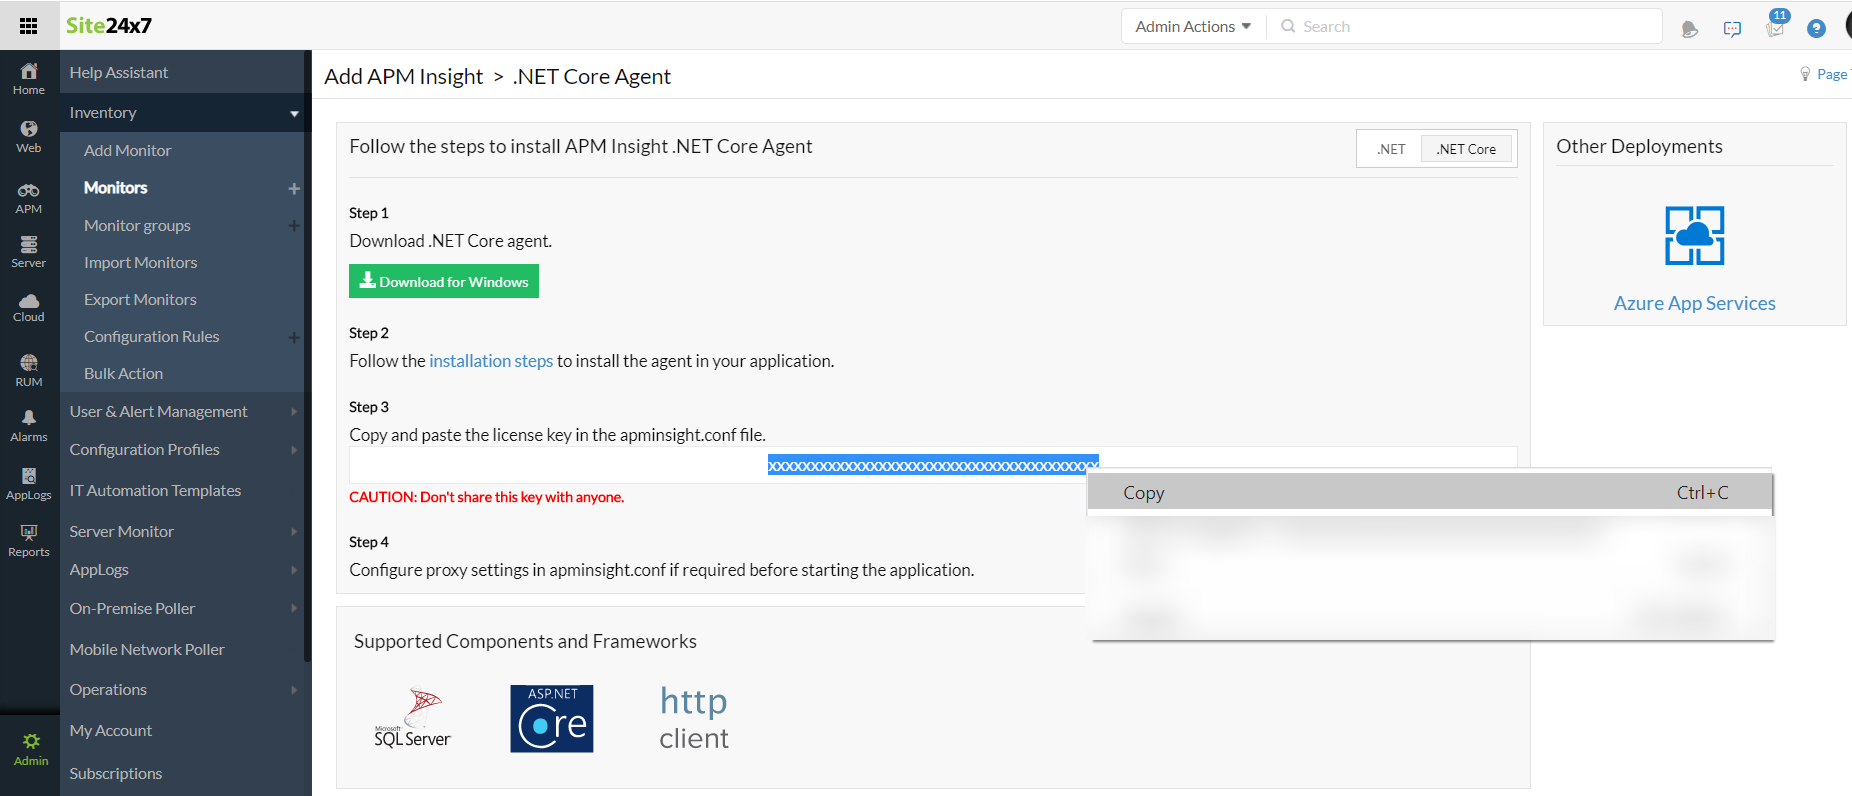
- Replace SITE24X7_LICENSE_KEY with the license key copied from the Site24x7 portal.

- Publish and deploy the application.
- Perform transactions to start monitoring.
Note
- Ensure that the agent files are in the Site24x7 folder in the root of the application to be published.
- Ensure that the environment variables are set correctly.
