Zapier integration
Site24x7's integration with Zapier enables you to automate Site24x7 tasks with other online apps like Slack, HipChat, Gmail, and Zoho Reports. You can create Zaps by choosing relevant triggers and corresponding actions. With Site24x7 you can generate the following triggers and actions:
Supported Triggers:
- New Contact - Triggers when a new contact is added in Site24x7
- New Monitor - Triggers when a new monitor is added in Site24x7
- New Alert - Triggers when a new alert is generated in Site24x7
Create New Zap with Site24x7
- Login to Site24x7 webclient.
- Click Admin > Third Party Integration > Zapier.

- Click the Integrate Zapier button.
- Login to Zapier with your Zapier Username and Password.
- If you dont have an account already, click Sign Up.
- Click Make a Zap to create a new Zap.

- Setting up Site24x7 in Zapier
NoteYou can provide a unique name for your Zap.
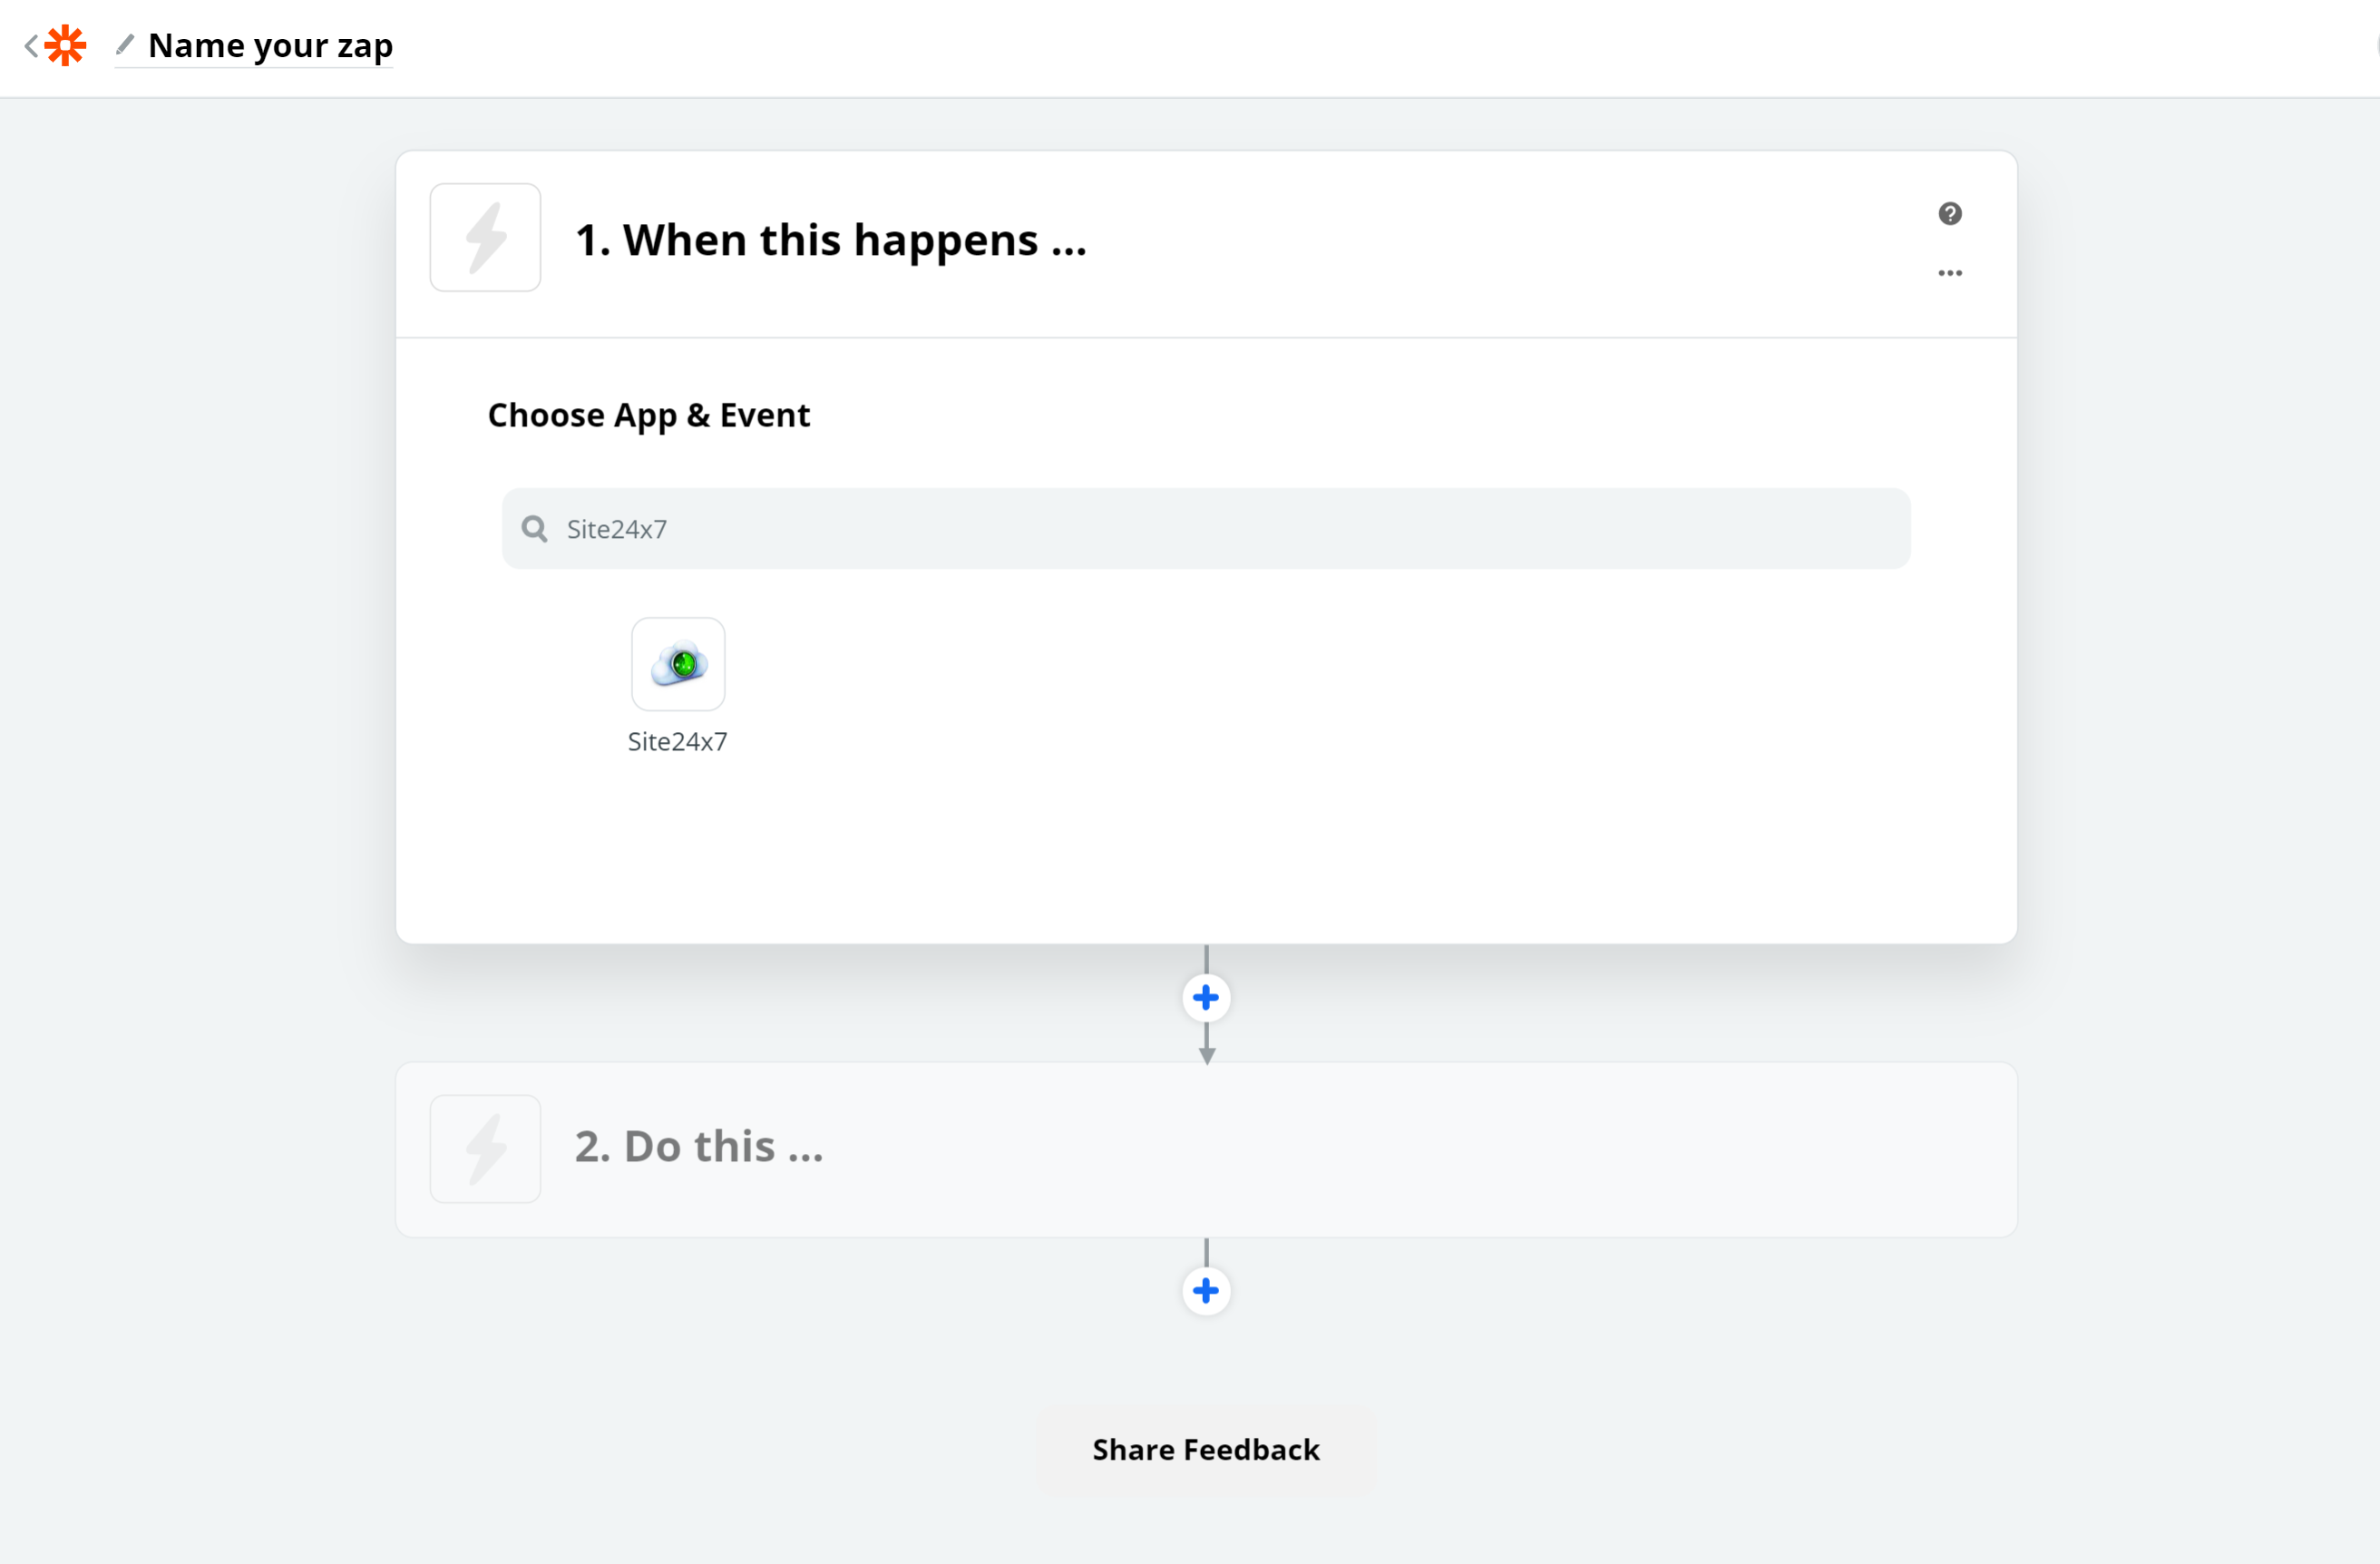
- Choose the Site24x7 app.
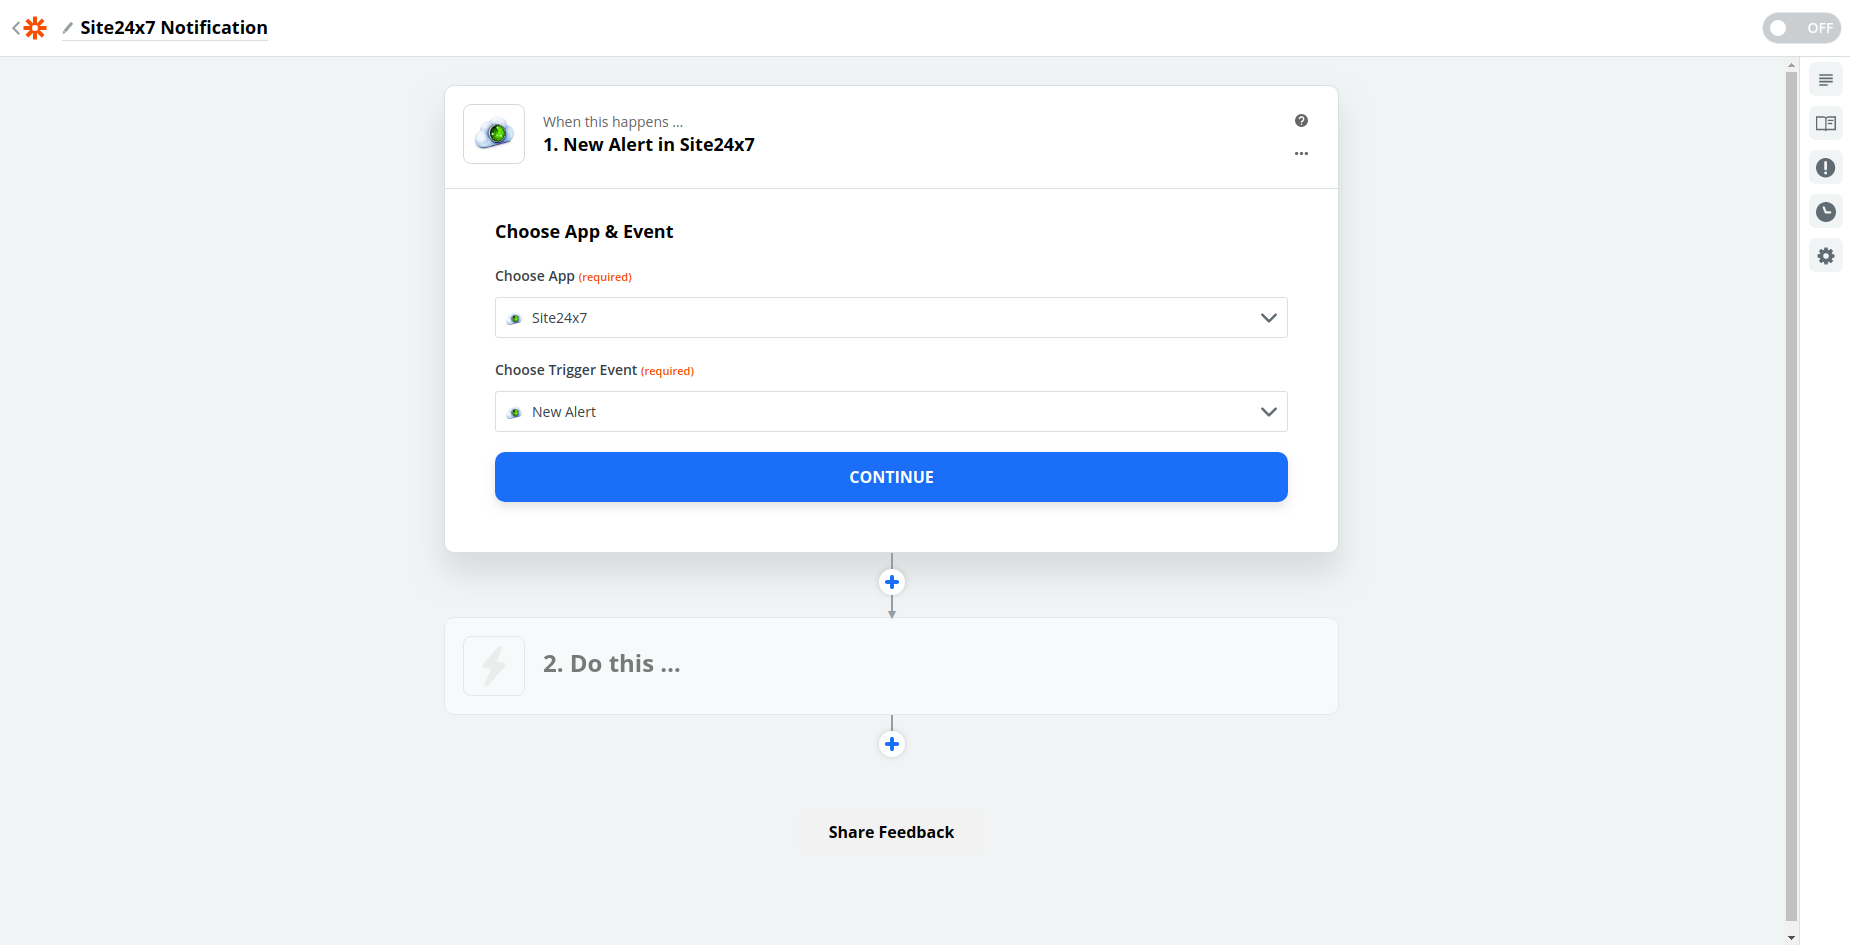
- Choose the relevant Trigger Event as per your requirement. Site24x7 Triggers are setup for a new contact, new monitor, or new alert. Once done, click Continue.
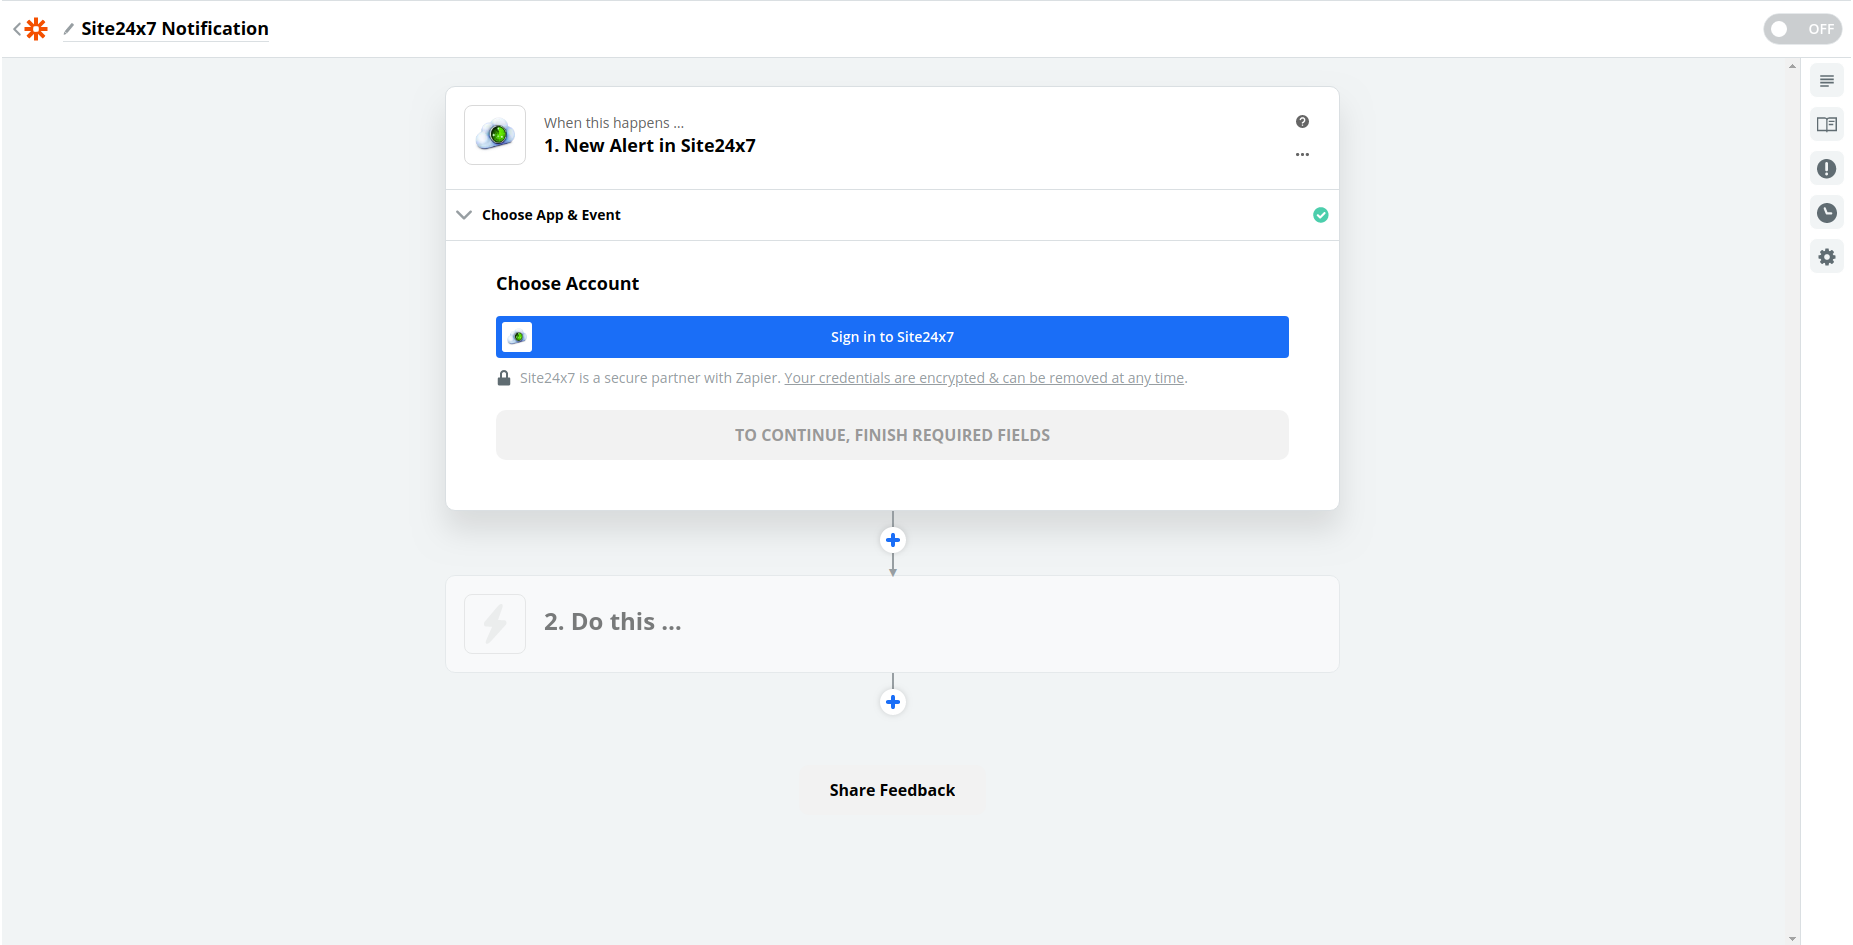
- Choose appropriate Site24x7 account when prompted to Connect a Site24x7 Account.
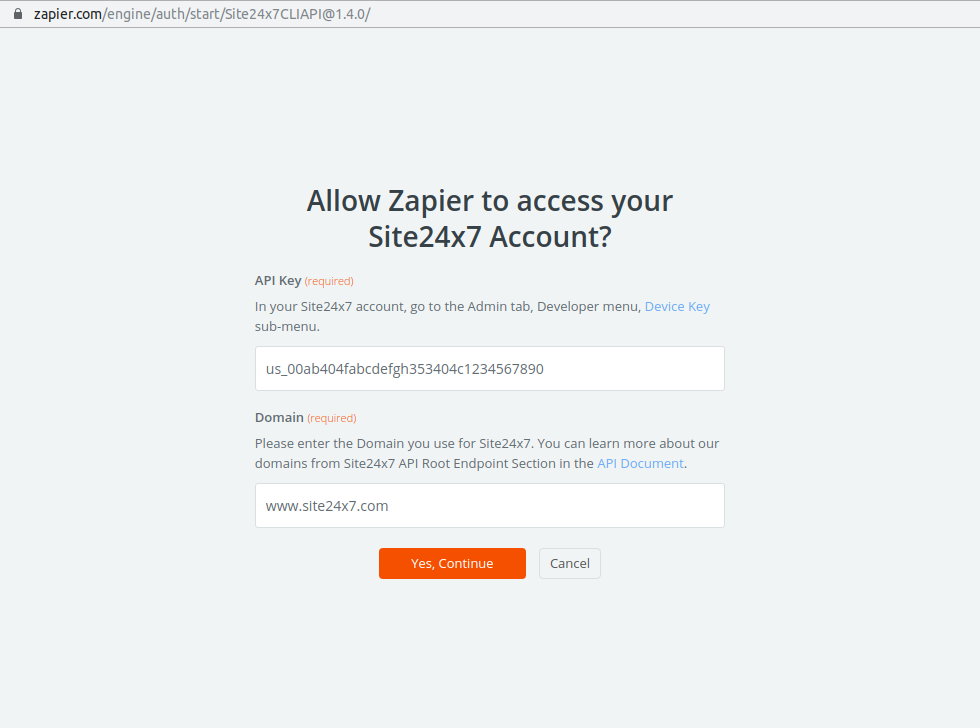
- Provide your unique Device Key and the Domain that you use to login to Site24x7, to validate your Site24x7 account. Click Yes,Continue to confirm.
- You can view your associated Site24x7 account, and click Continue.
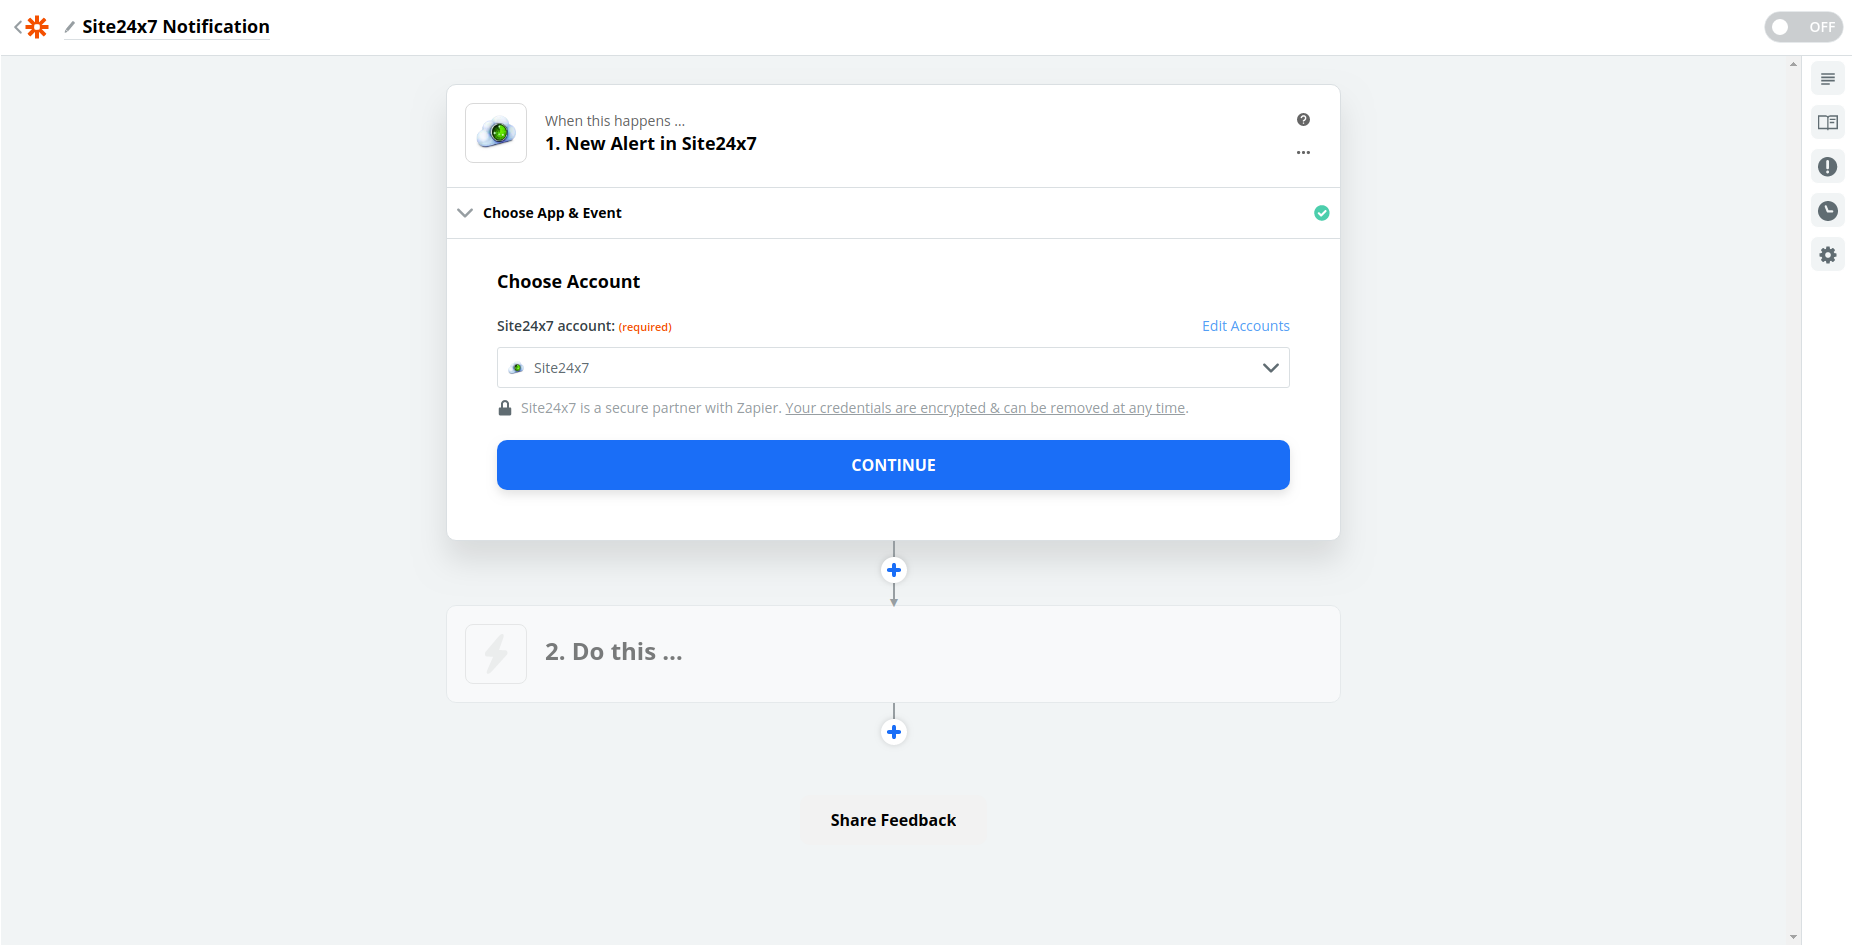
- Zapier lets you test Site24x7 trigger by fetching an existing monitor from your Site24x7 account. Click Test & Review for reviewing the trigger response, or click on Test & Continue to proceed.
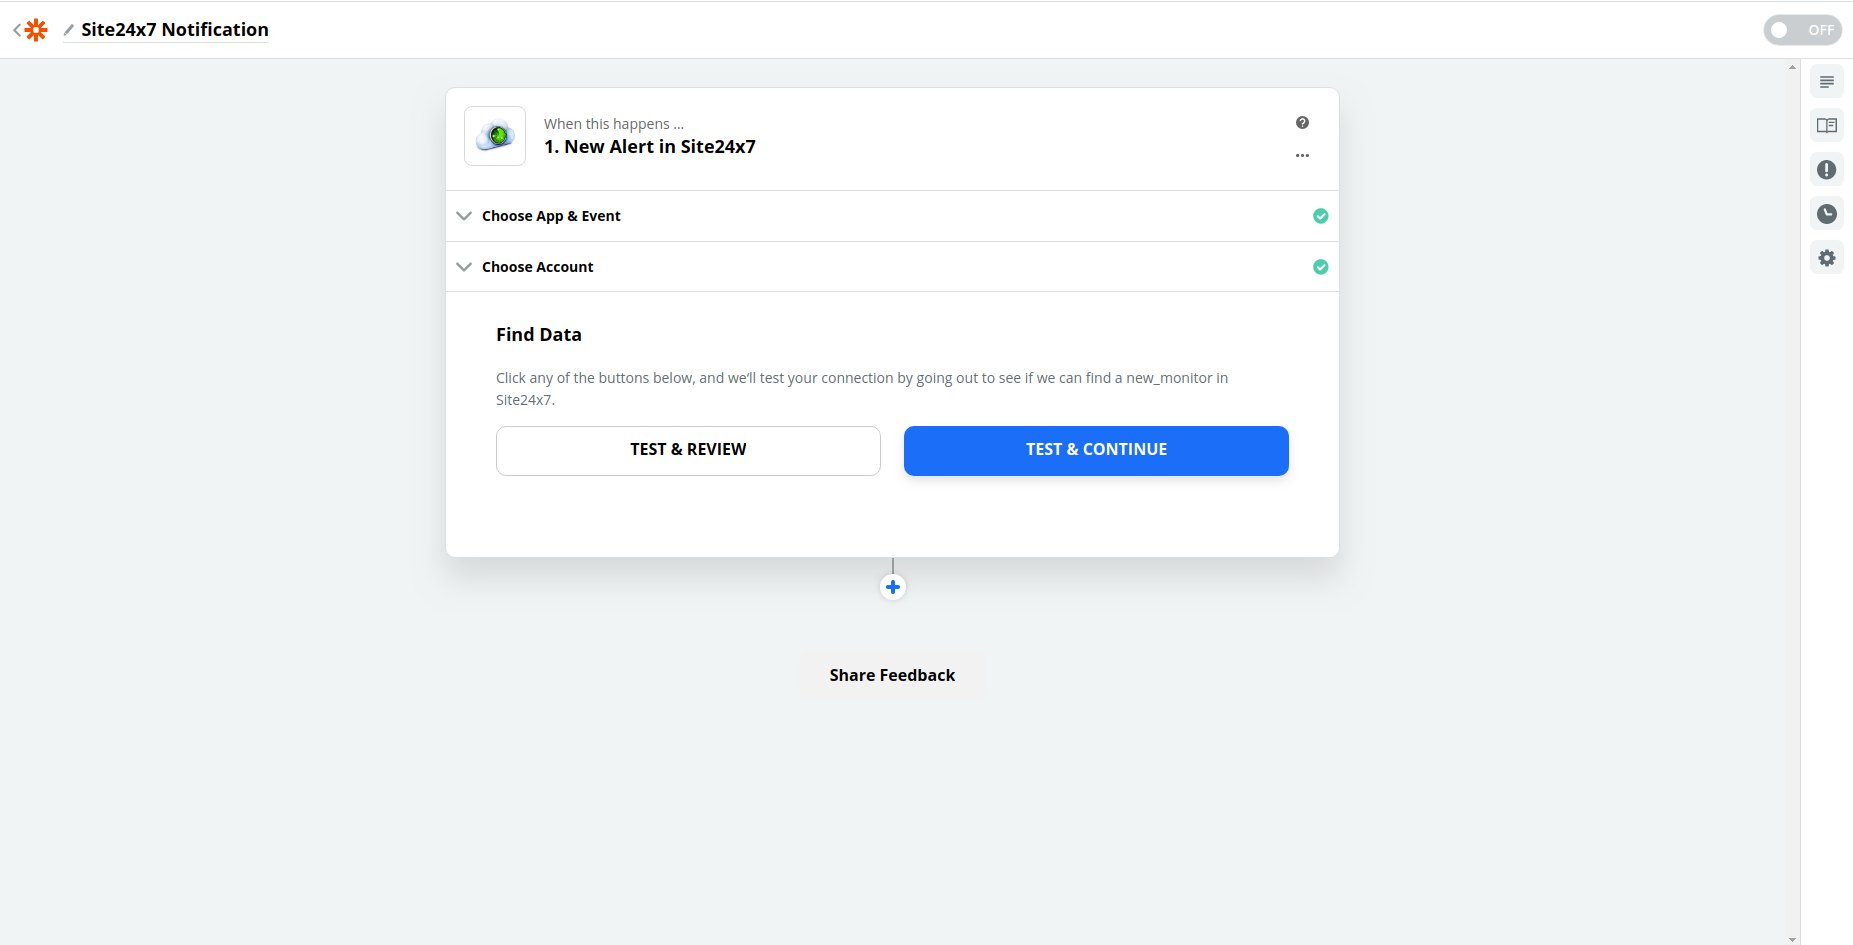
- Choose the Site24x7 app.
- Setting up an Action.
- Choose the appropriate app and the required action.
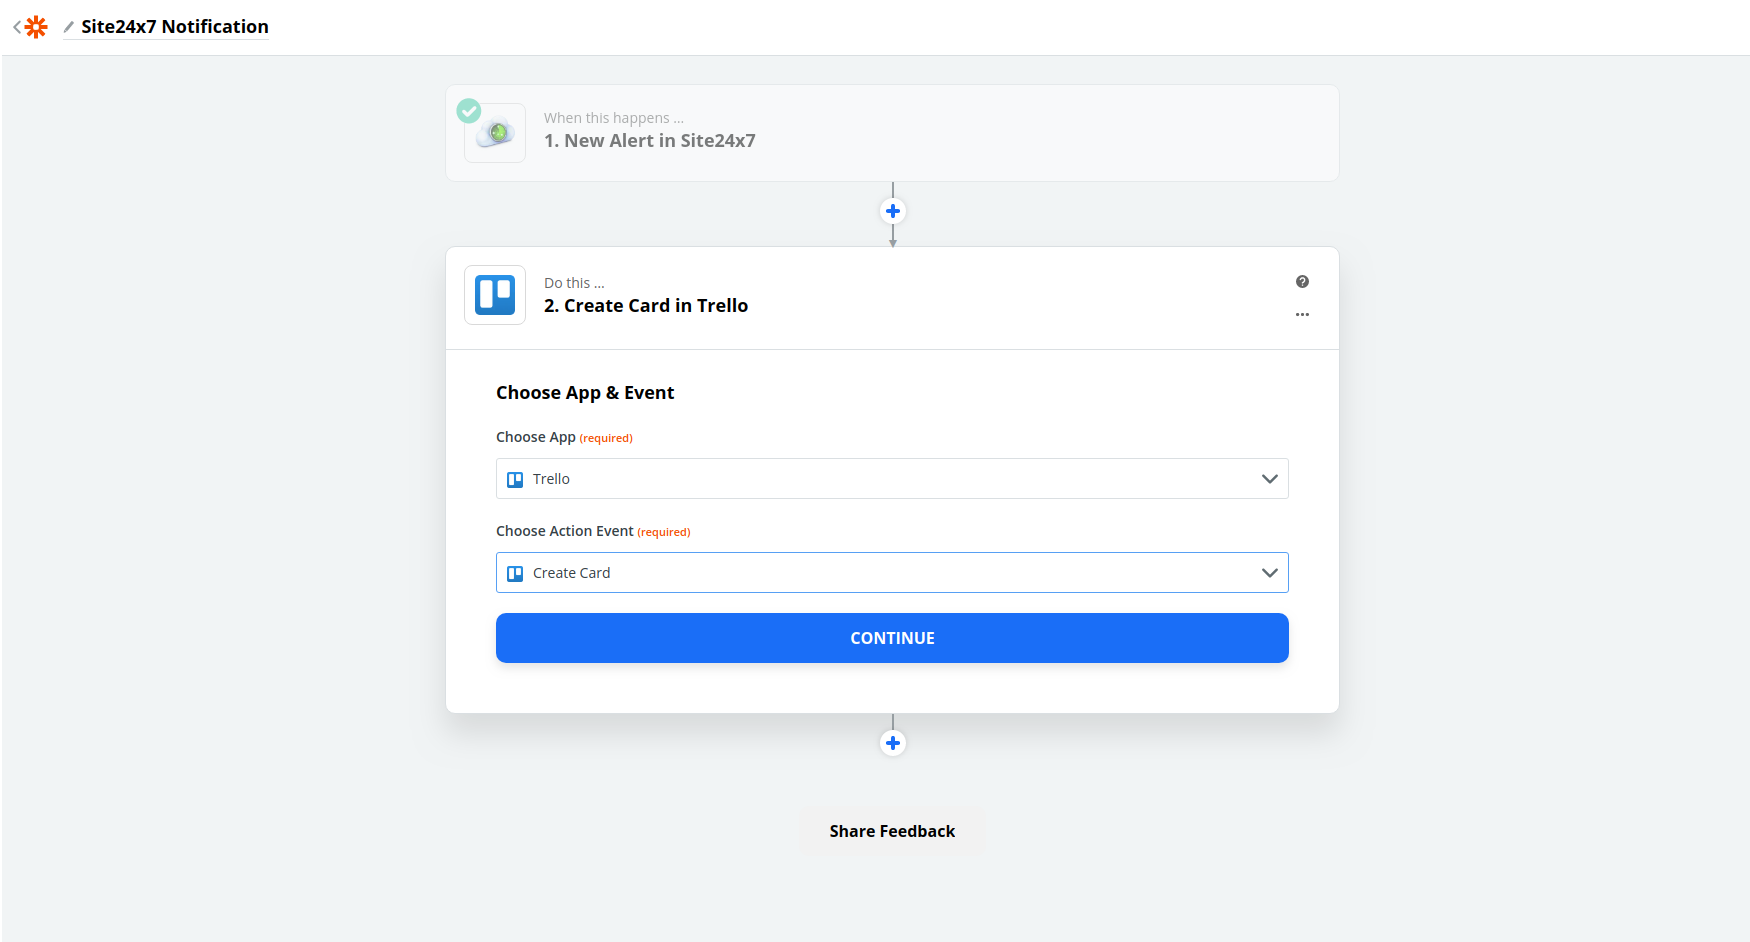
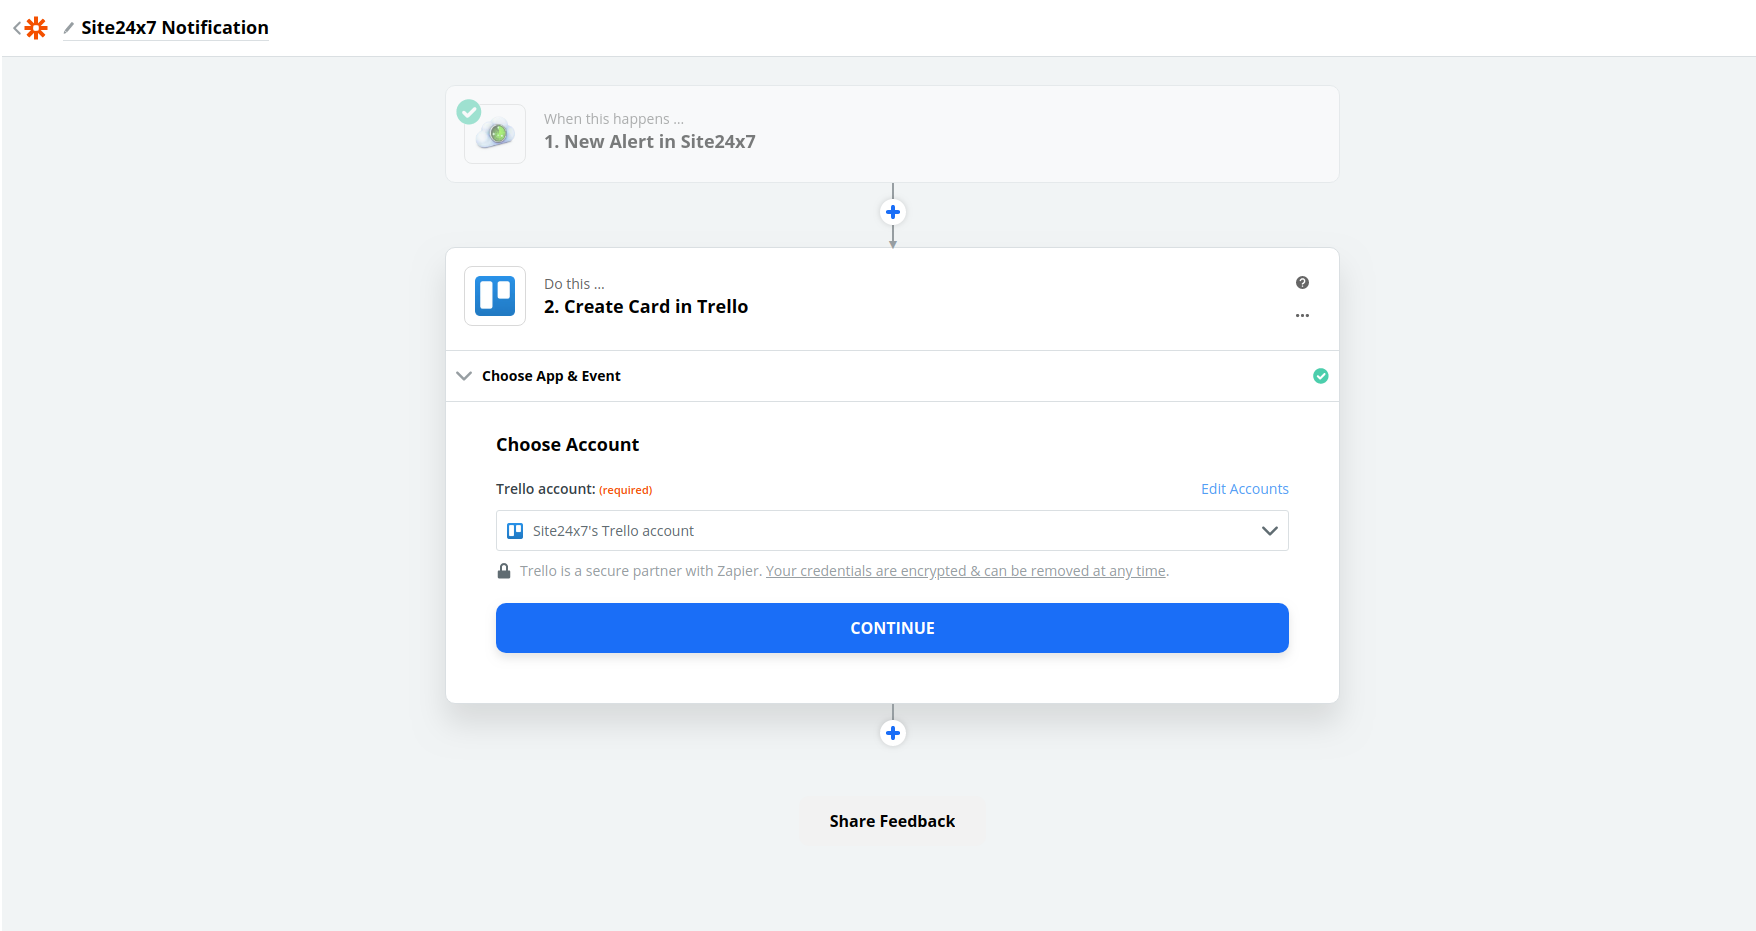
- Sign in to the third-party service of your choice and provide access if the third-party service of your choice requires any kind of authentication.
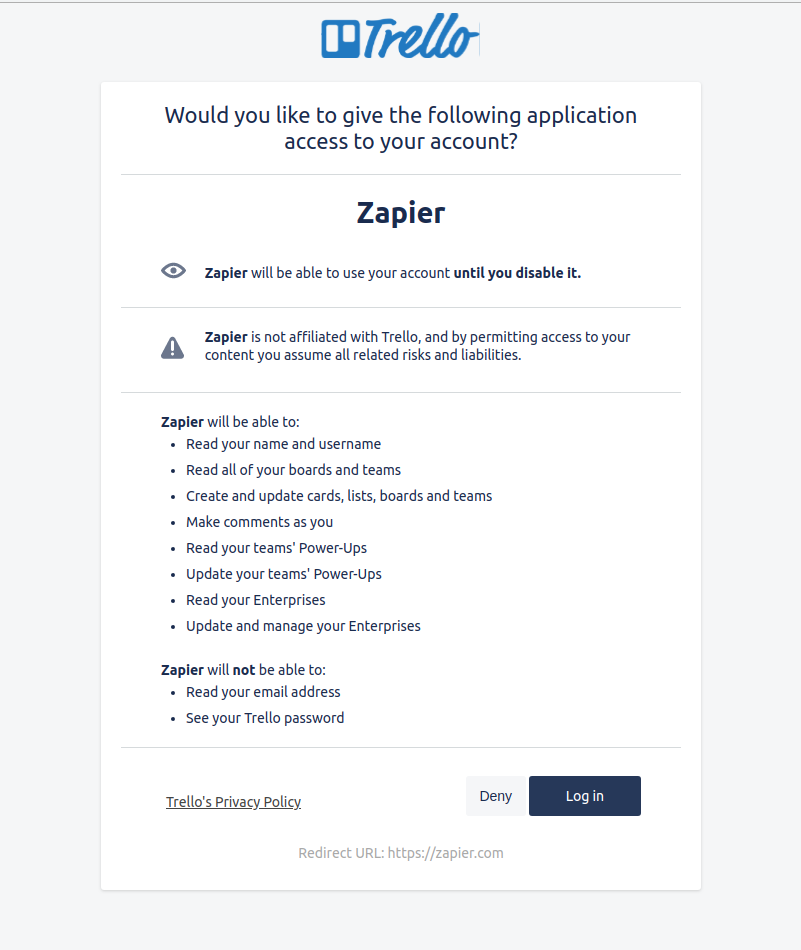
- You can view your third-party account in the Zapier dashboard. Click Continue.
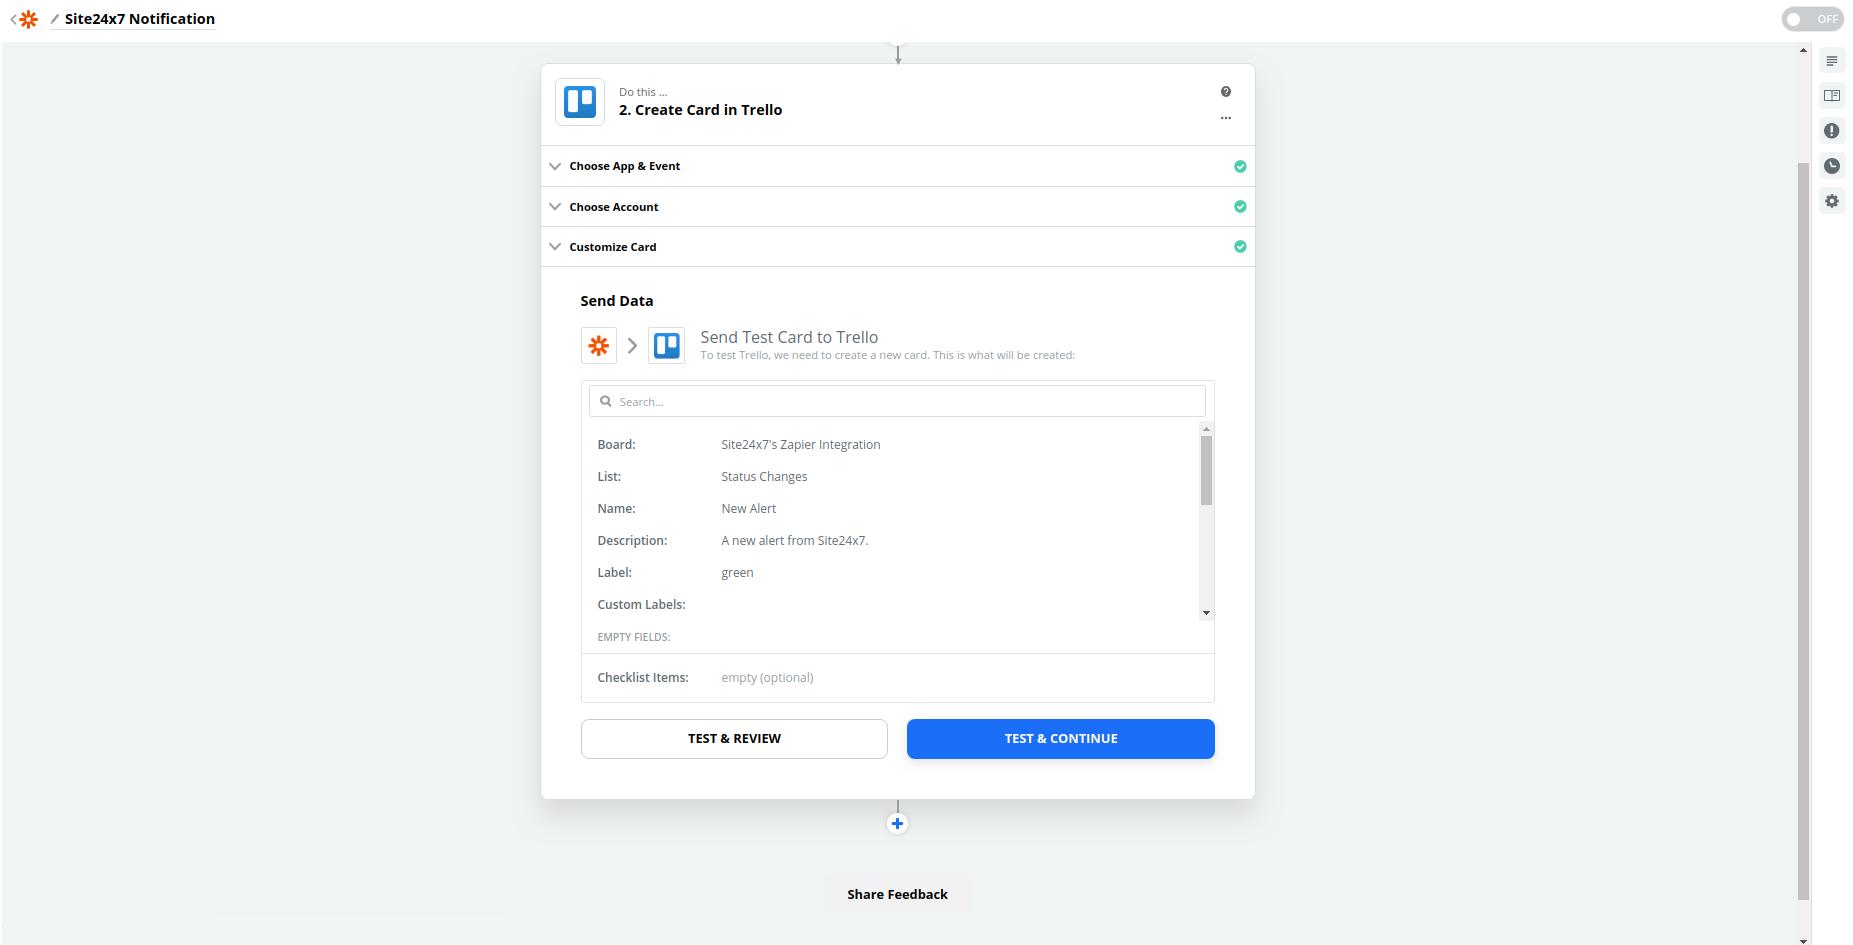
- Zapier lets you test your third-party account by creating and verifying a manual action. Specify the parameters to test your event and click Test & Continue.
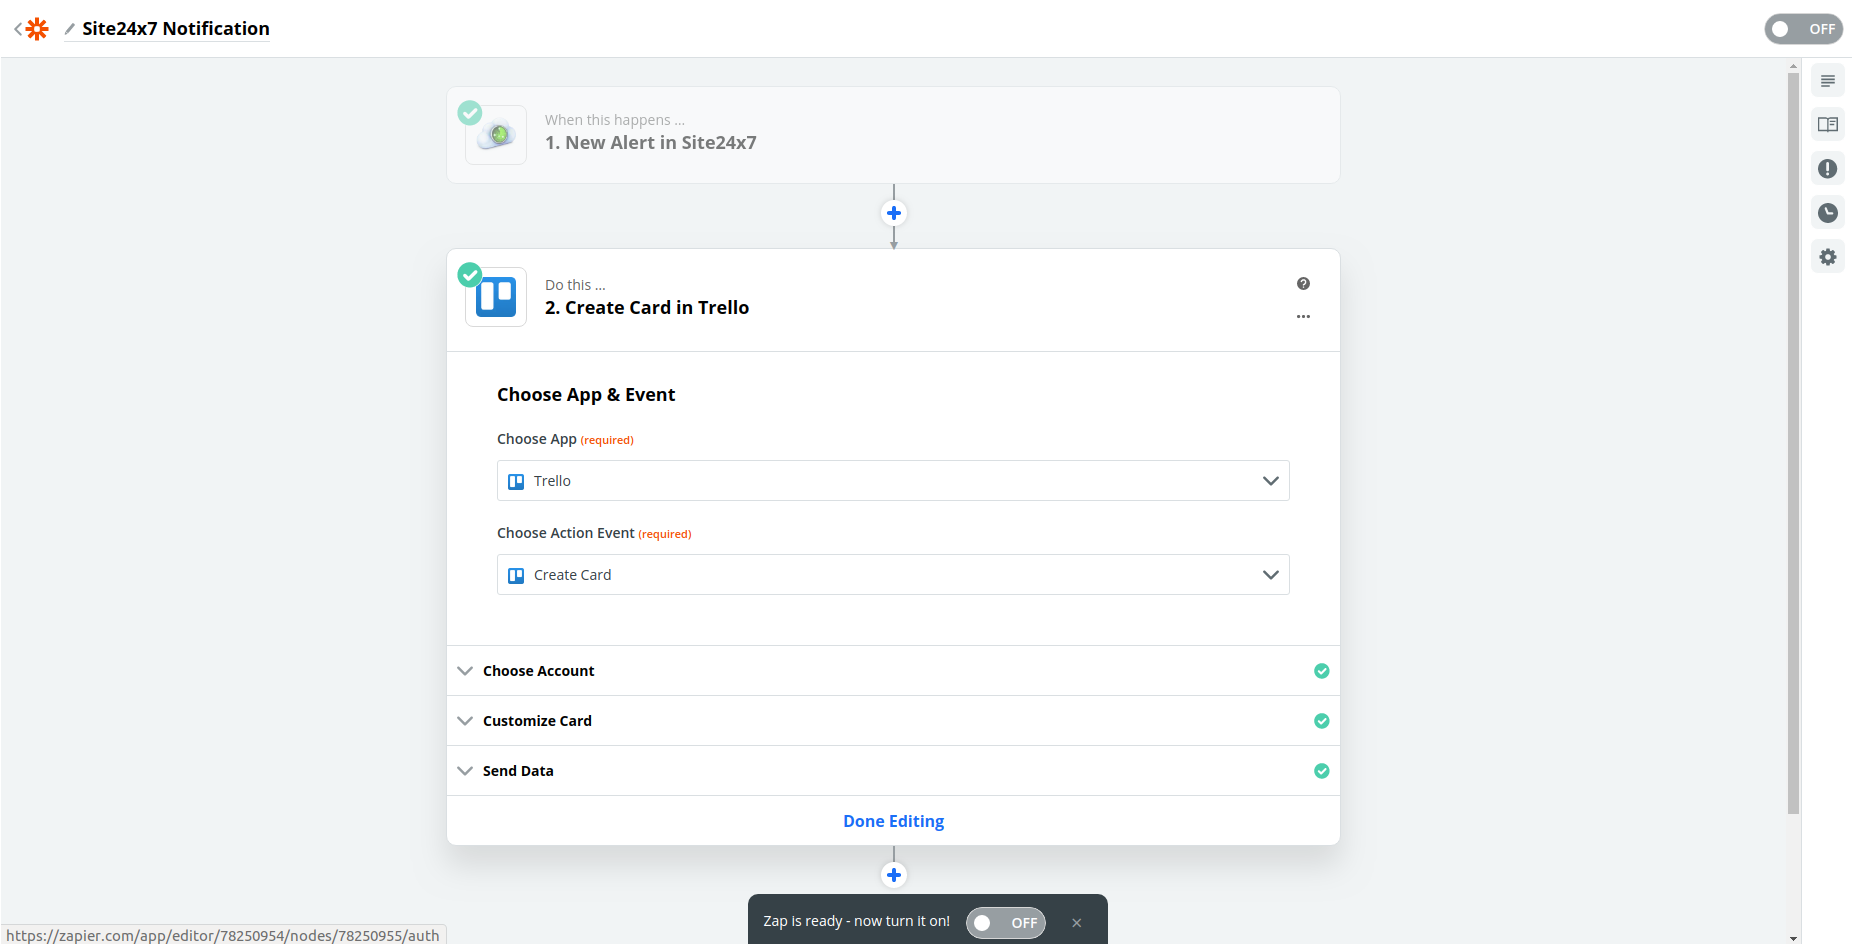
- On successfully completing your test action, you will now be able to turn on your Zap.
- Choose the appropriate app and the required action.
- Setting up Filters.
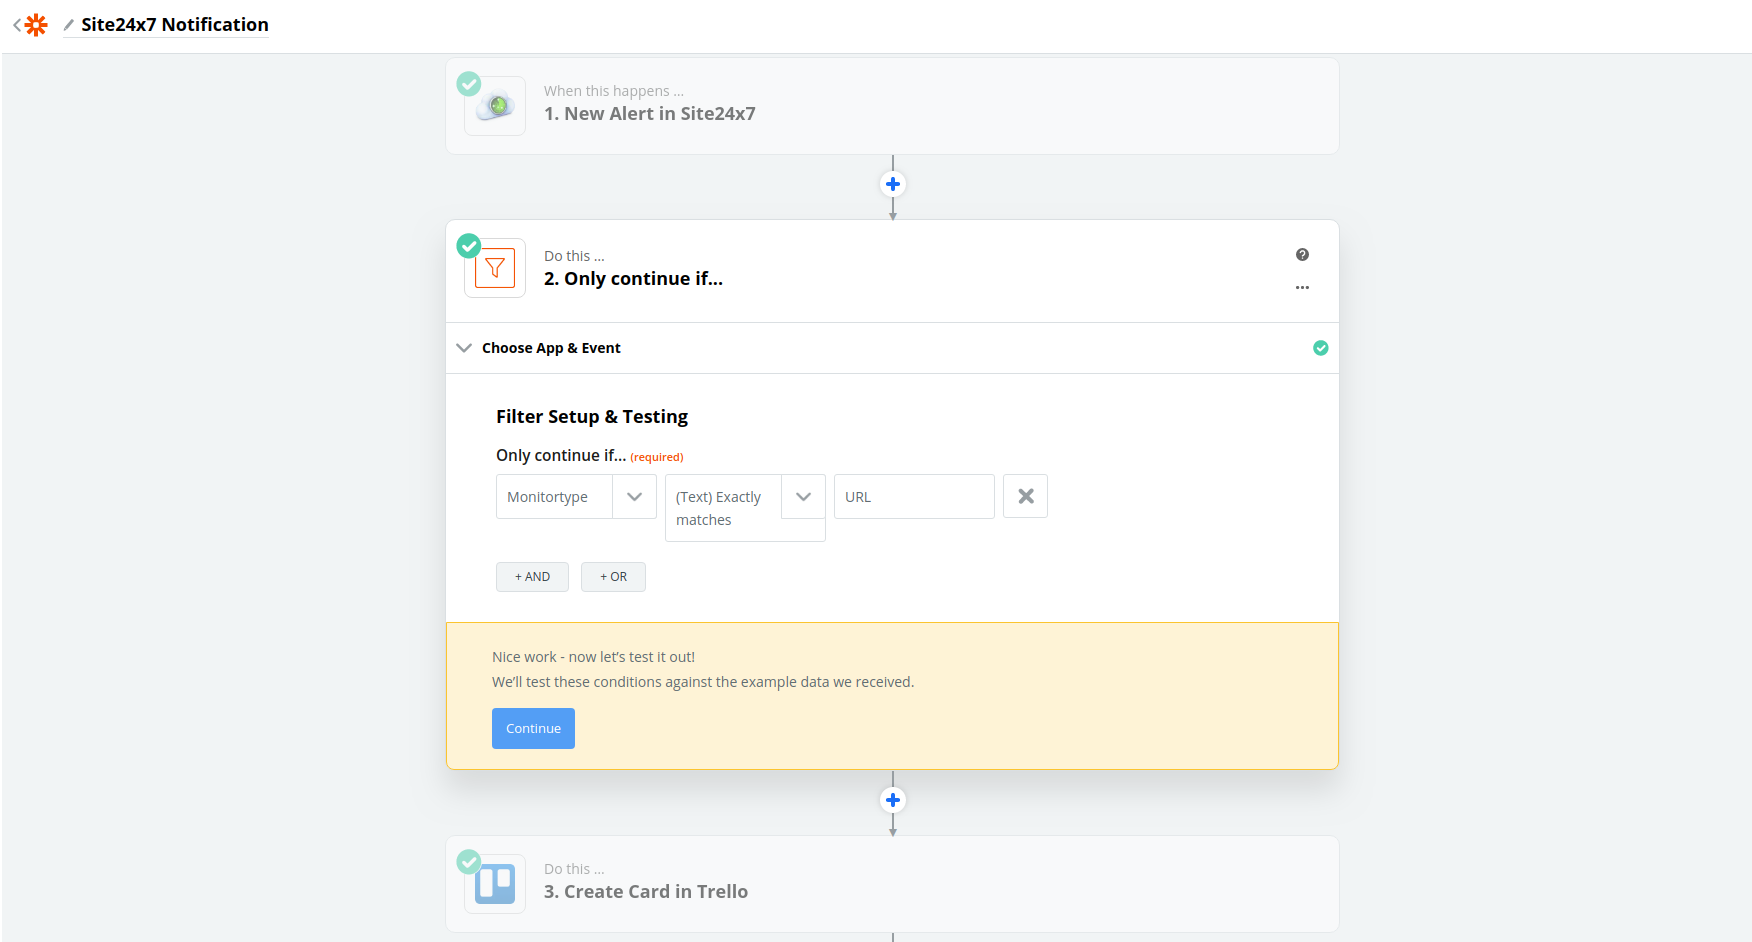
- After both trigger and action are configured, you can manually set up filters that decide what type of alerts should create the action in your third party service. Zaps are enabled only when the choosen parameters and its values match the actual entry.
NoteFollowing are few Site24x7 parameters available for setting up a filter:
- Monitor display name
- Configured failure checks
- Monitor type
- Poll interval
- Monitor URL
- Threshold - Content change
- Zapier lets you test your third-party account by creating and verifying a manual action. Specify the parameters to test your event and click Test & Continue.
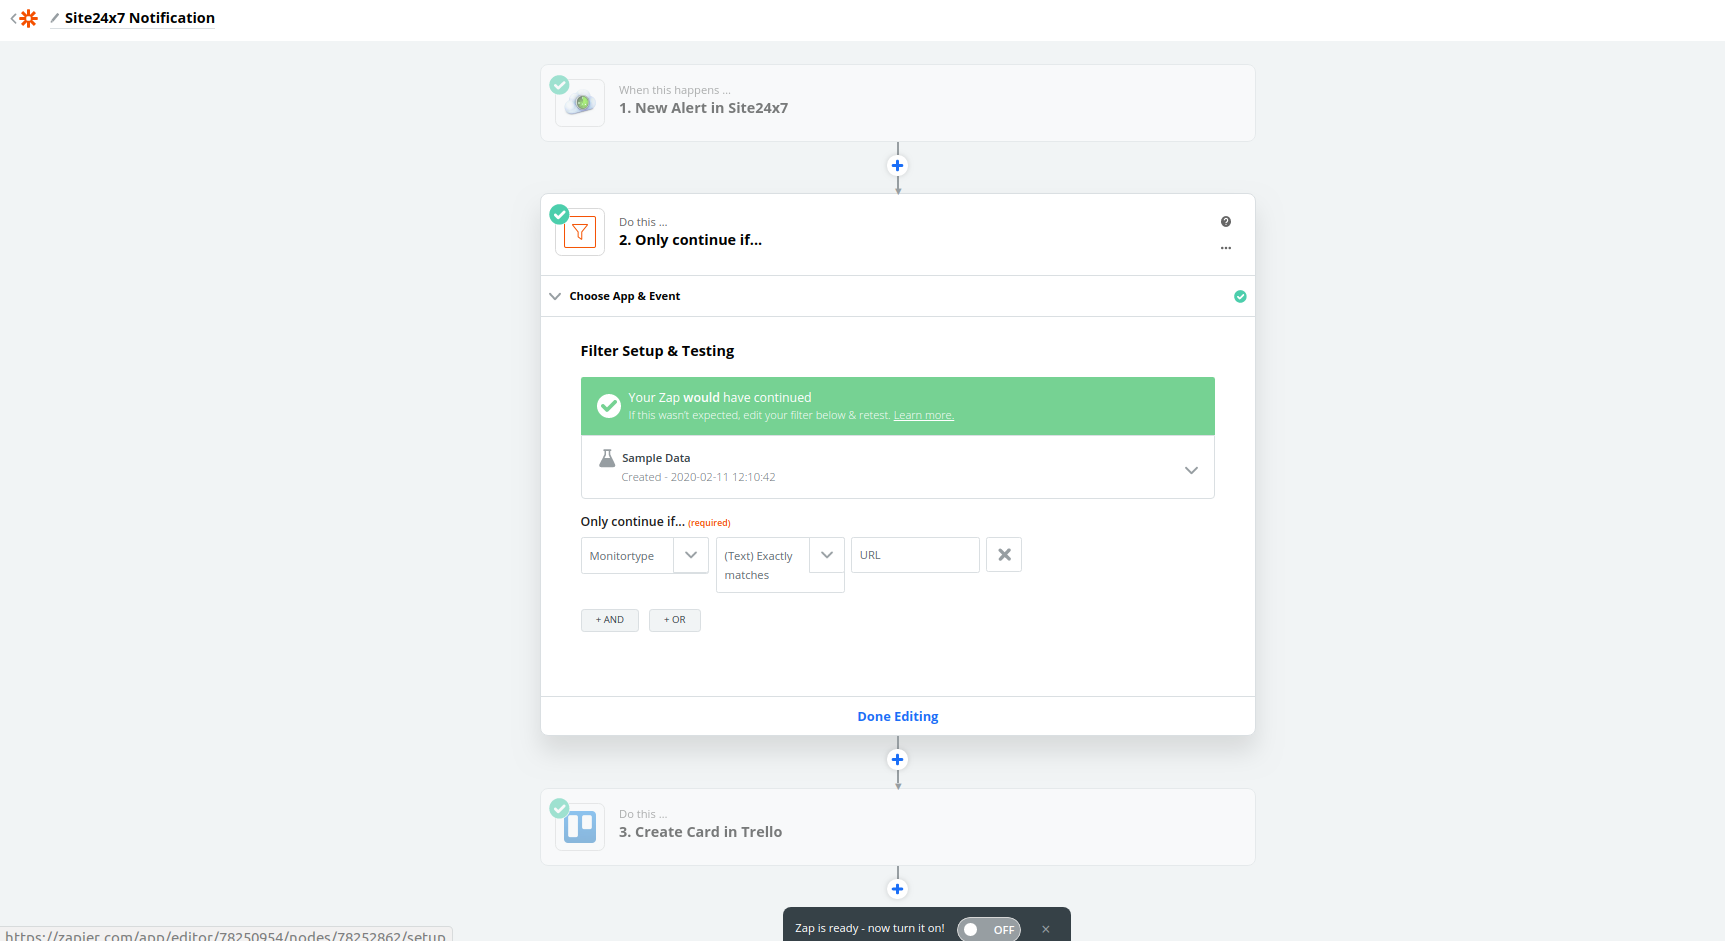
- After both trigger and action are configured, you can manually set up filters that decide what type of alerts should create the action in your third party service. Zaps are enabled only when the choosen parameters and its values match the actual entry.
- Once all the configuration is complete, you can use the toggle button on the dashboard to turn on your Zap. That's it! Your Zap is up and running.
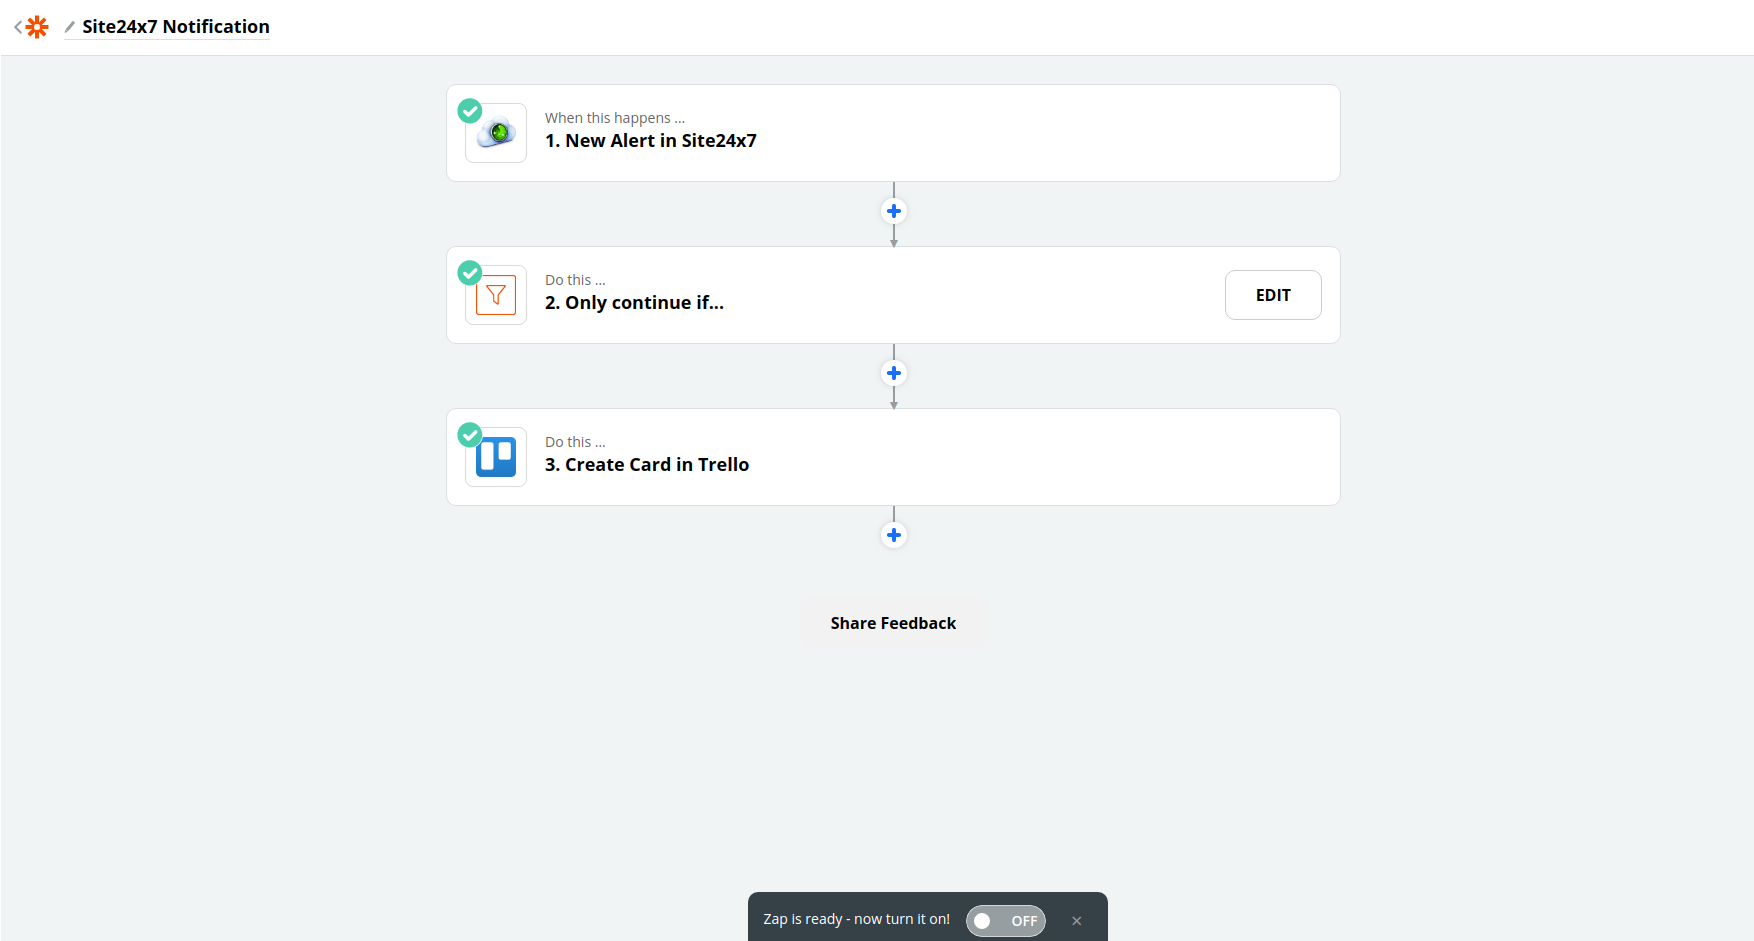
If you wish to turn off the integration, you can use the same toggle button.
-
On this page
- Supported Triggers
- Create New Zap with Site24x7
