ConnectWise Manage Integration
ConnectWise Manage is software built to help your as-a-service business. With ConnectWise Manage, you can achieve full visibility and proactive management that will help you provide consistent service with no interruptions. By integrating Site24x7 with ConnectWise Manage, you can manually or automatically open or close ConnectWise Manage incidents based on Site24x7 monitor alerts. Additionally, you can identify risks, forward alerts to IT teams, and manage alerts smoothly. MSPs can use this integration to have a common console through which they can receive multiple customer incidents.
This integration is only with services provided by ConnectWise Manage.
Key features
- Automatic incident ticket creation in ConnectWise Manage based on new alerts in Site24x7.
- Automatic incident update with changes to alert severity in Site24x7.
- Automatic closure of incidents when alerts are cleared in Site24x7.
Prerequisites
- You must have a pre-configured ConnectWise Manage account with sufficient user privileges to set up this integration.
- You must be a Site24x7 customer to utilize this integration. You must also have Super Admin or Admin privileges.
- You must generate an Instance URL and login credentials after requesting an instance on your ConnectWise Manage build. Copy and retain the instance URL and login credentials to successfully integrate with Site24x7.
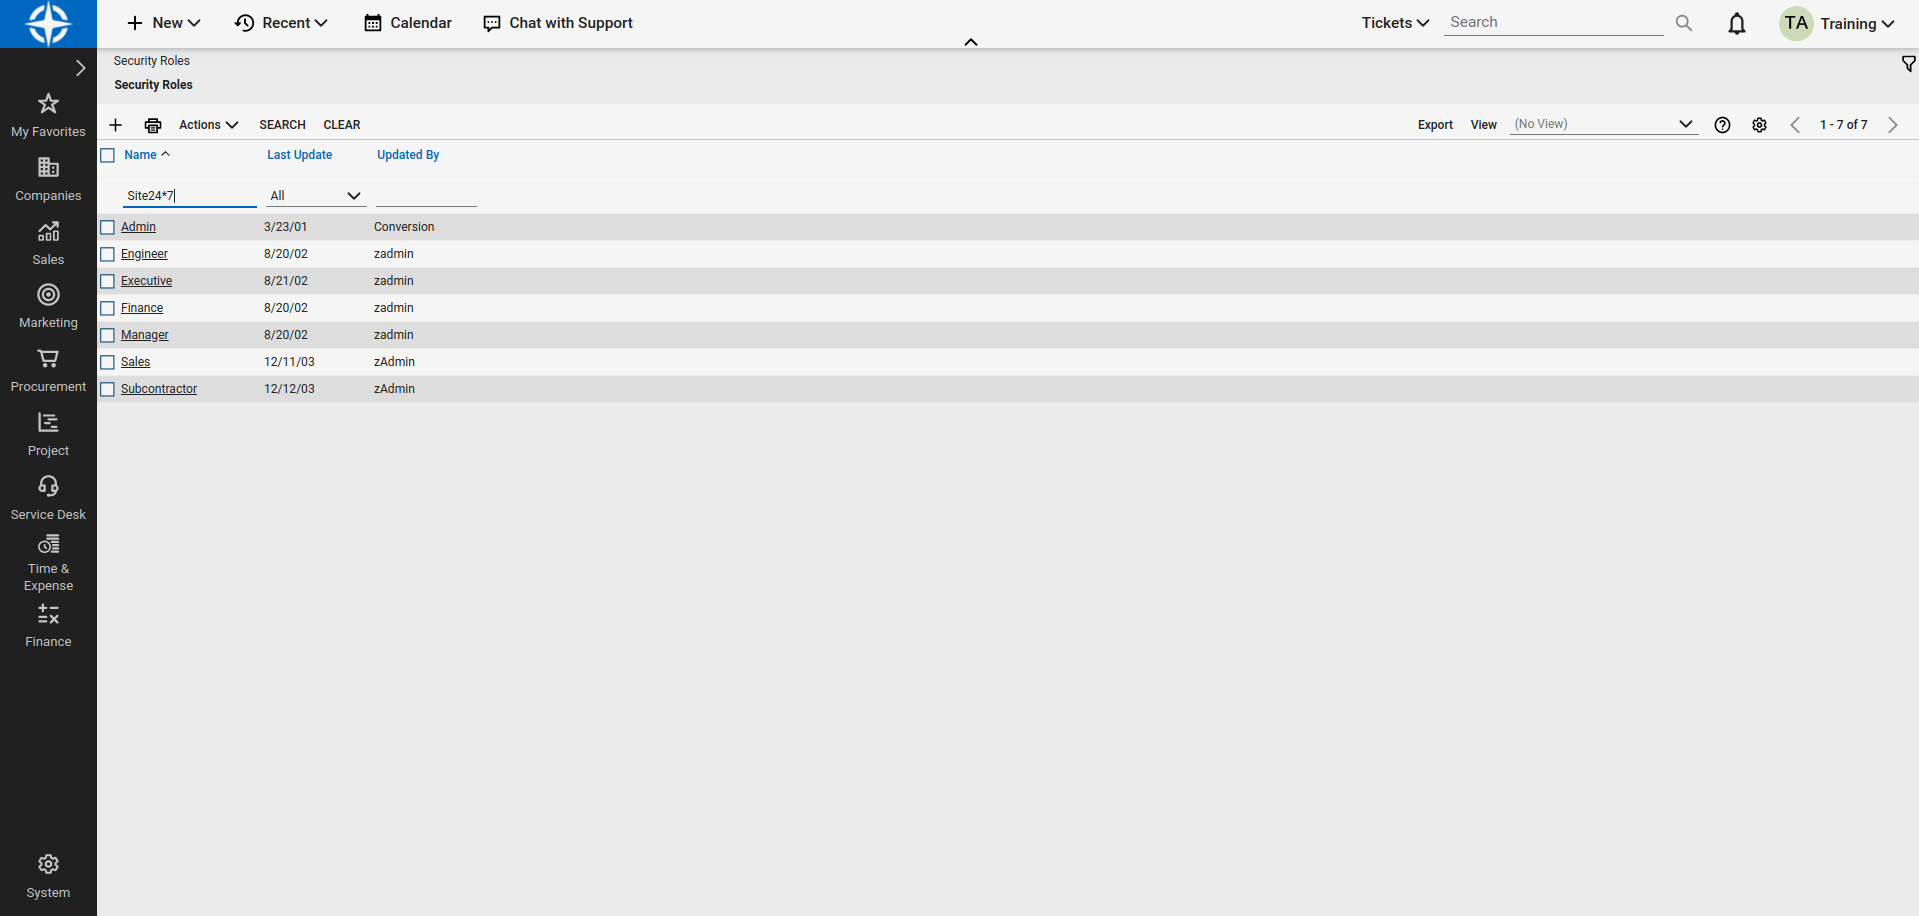
- To carry out various actions on the tickets raised, you need to have certain roles in ConnectWise Manage. To check the permission roles you possess in ConnectWise Manage,
1. Log in to ConnectWise Manage.
2. Navigate to System> Service Roles. If you are not assigned any permissions or roles, contact your Admin.
Creating an instance in ConnectWise Manage
- To create an instance in ConnectWise Manage:
- Log in to your ConnectWise Manage account.
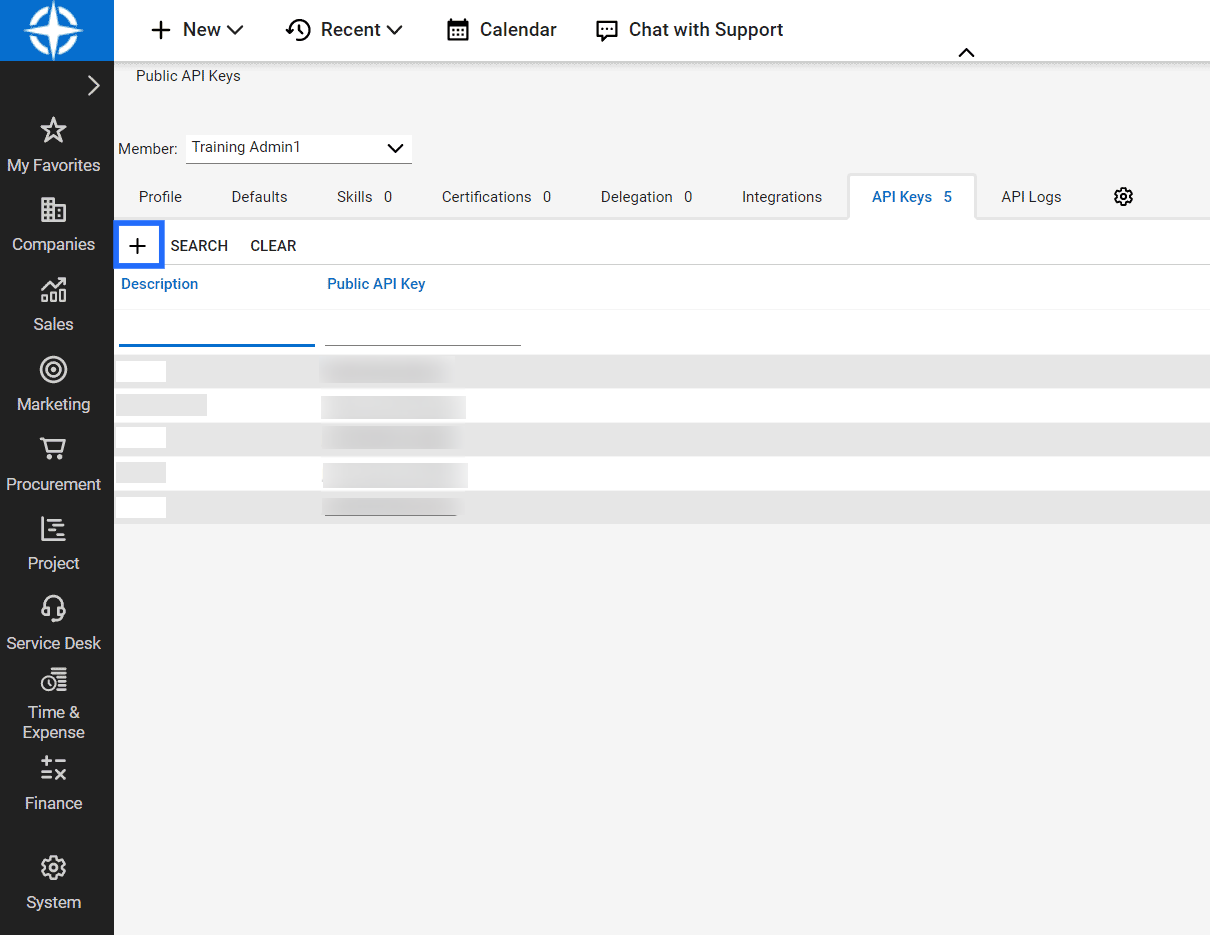
- Once logged in, access Profile (on the far right side of the title bar) > My Account > API Keys, and click on the plus button + (New item button).
- A public and private key will be generated.

Be sure to copy and save the private key as it'll only be generated once.
Integration
- Log in to Site24x7
- Navigate to Admin > Third-Party Integration.
- Choose ConnectWise Manage from the list of integrations.
- You'll be redirected to the ConnectWise Manage Integration page. Update the integration form as follows:
-
- Integration Name: Enter the name of your integration.
- Instance URL: Specify the instance URL used to access the ConnectWise Manage service. For example, http://api-staging-connectwisedev.com.
- Company: Enter the name of the company you have used to log in to ConnectWise Manage.
- Public Key: Enter the public key that was generated when you created the instance in ConnectWise Manage.
- Private Key: Enter the private key that was generated when you created the instance in ConnectWise Manage.
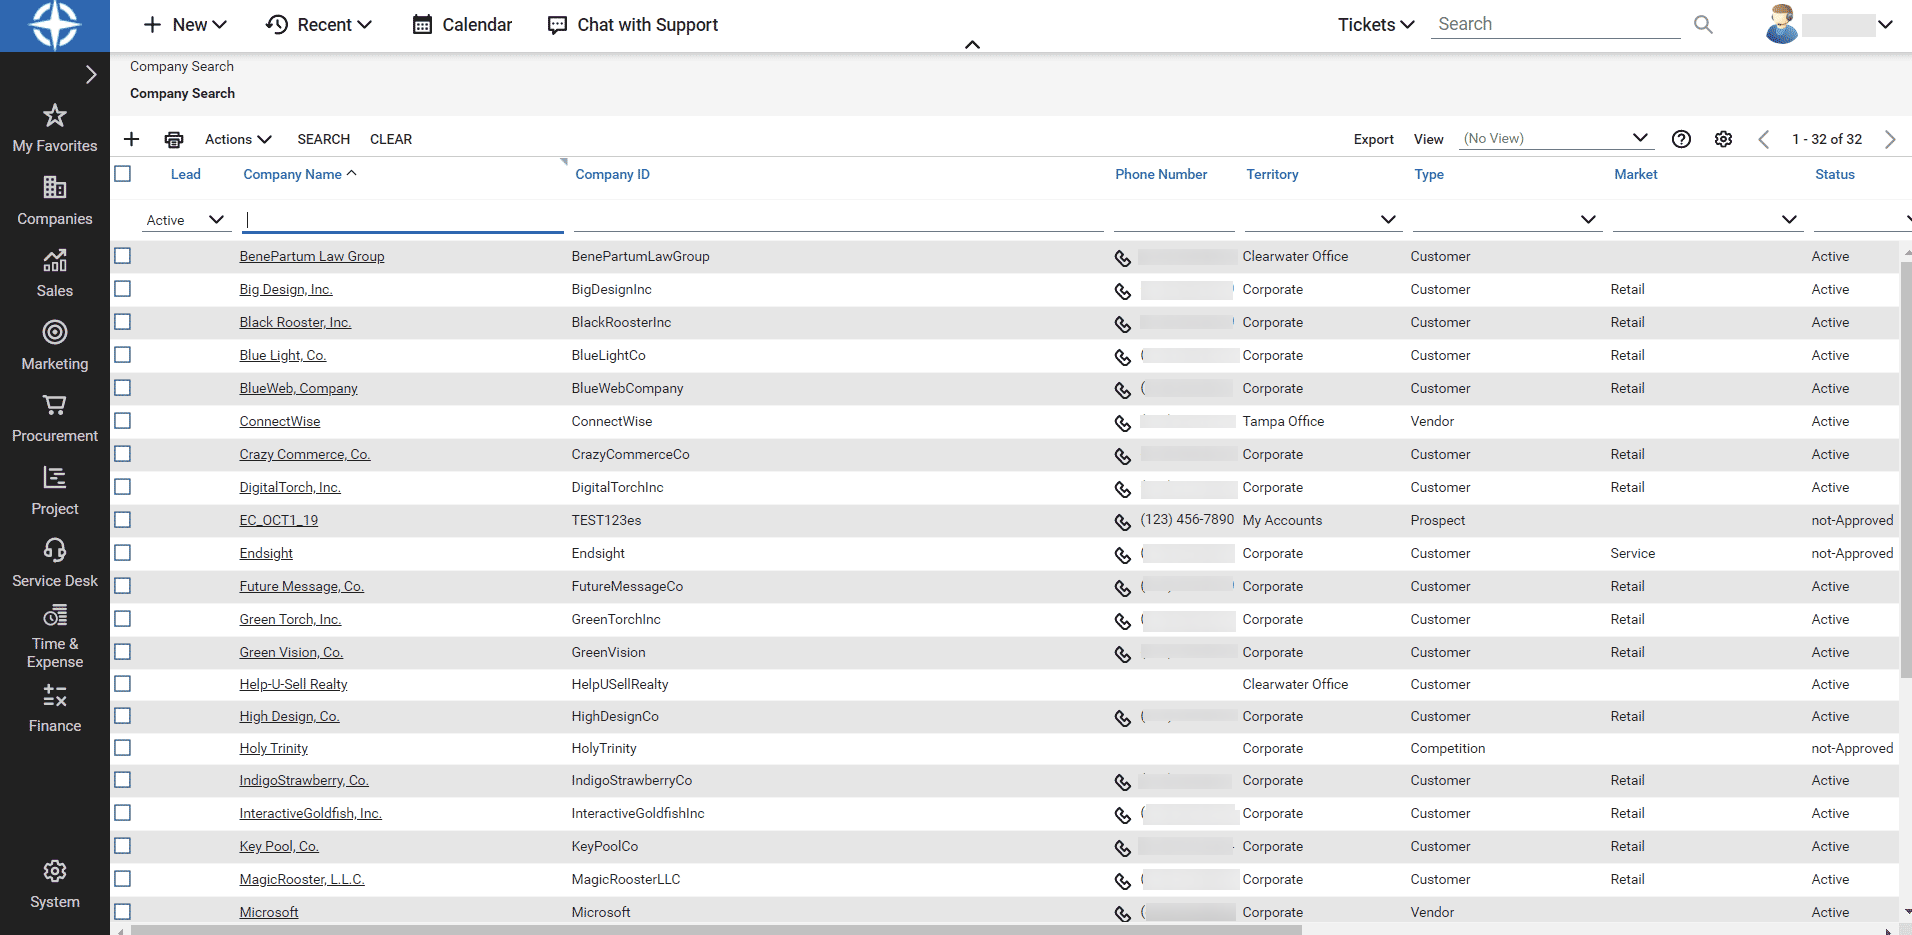
- Company ID: Enter the Company ID you prefer. Site24x7 will raise tickets to your ConnectWise Manage account by assigning them to this company. (Company ID can be chosen by going to your ConnectWise Manage account > Company > Companies. Choose a company name, and that will be your Company ID).

-
- Select Integration Level: Use the radio button to decide whether to send alerts to ConnectWise Manage accounts from your chosen monitors, monitors/monitor groups associated with applied tags, monitors associated with the selected monitor group, or all monitors. (For tags associated to your monitor group that have monitors in both the parent level and a few monitors in sub-group level, alerts from the parent monitors only will get added as incidents in ConnectWise).
- Tags to Be Sent With Alerts: Select the tag keys associated with the monitor that need to be sent with the alert. When an alert is triggered, tags that match with the monitor will be included in the alert notifications. If no tags are selected, all the tags associated with the monitor will be present in the alert notifications.
- Alternate Notification Medium: If the primary third-party notification medium for sending alerts encounters an issue, an alternative notification medium will be activated to ensure that alerts are not missed.
- Send Custom Parameters: Write specific code to pass parameters in the format Param name=value pair (or) Param name={Param key=Param value} for your HTTP CRUD methods. If you want to pass multiple key-value pairs, you must specify each pair one-per-line. You cannot pass the parameters in JSON format. Global parameters can also supported.
- Trigger Alerts for Monitor Status Change:Use the check boxes to choose the monitor status changes (Down, Trouble, and Critical) for which you'd wish to receive alerts.
- Manually Close Incidents When My Monitor Changes to Up: Use the radio button to decide whether to close incidents manually or automatically in ConnectWise Manage when the Site24x7 monitor alert changes to Up. By default, incidents are resolved automatically in ConnectWise.
- Status: You can provide the status to be updated as the ticket status, when the Site24x7 monitor alert changes to Up.
- User Alert Group: You can choose a User Alert Group to be notified when there is an error in ConnectWise Manage Integration.
5. Click the Save and Test button to save the integration and to receive a test alert. Or, you can click the Save button to complete the set up process
Once the set up process is completed, the ConnectWise Manage integration will be listed in the Third-Party Integration dashboard. You can set up multiple ConnectWise Manage integrations in your Site24x7 account.
Suspend/Activate/Delete ConnectWise Manage integration
Follow the steps below to suspend an active ConnectWise integration:
- Log in to Site24x7.
- Navigate to Admin > Third-Party Integration (All the integrations will be listed here in the Third-Party Integration dashboard).
- You can also initiate a Test Alert to check whether the integration is a success or has any configuration errors.
- Click the active ConnectWise Manage integration that you want to suspend.
- Click Suspend button in the top-right corner of the integration window
- Upon suspending your ConnectWise Manage integration, all incident tickets to your ConnectWise Manage account will be stopped temporarily.
- To reactivate a suspended ConnectWise Manage integration, click Activate.
- To delete an integration permanently, click Delete.
Managing incident tickets in ConnectWise Manage

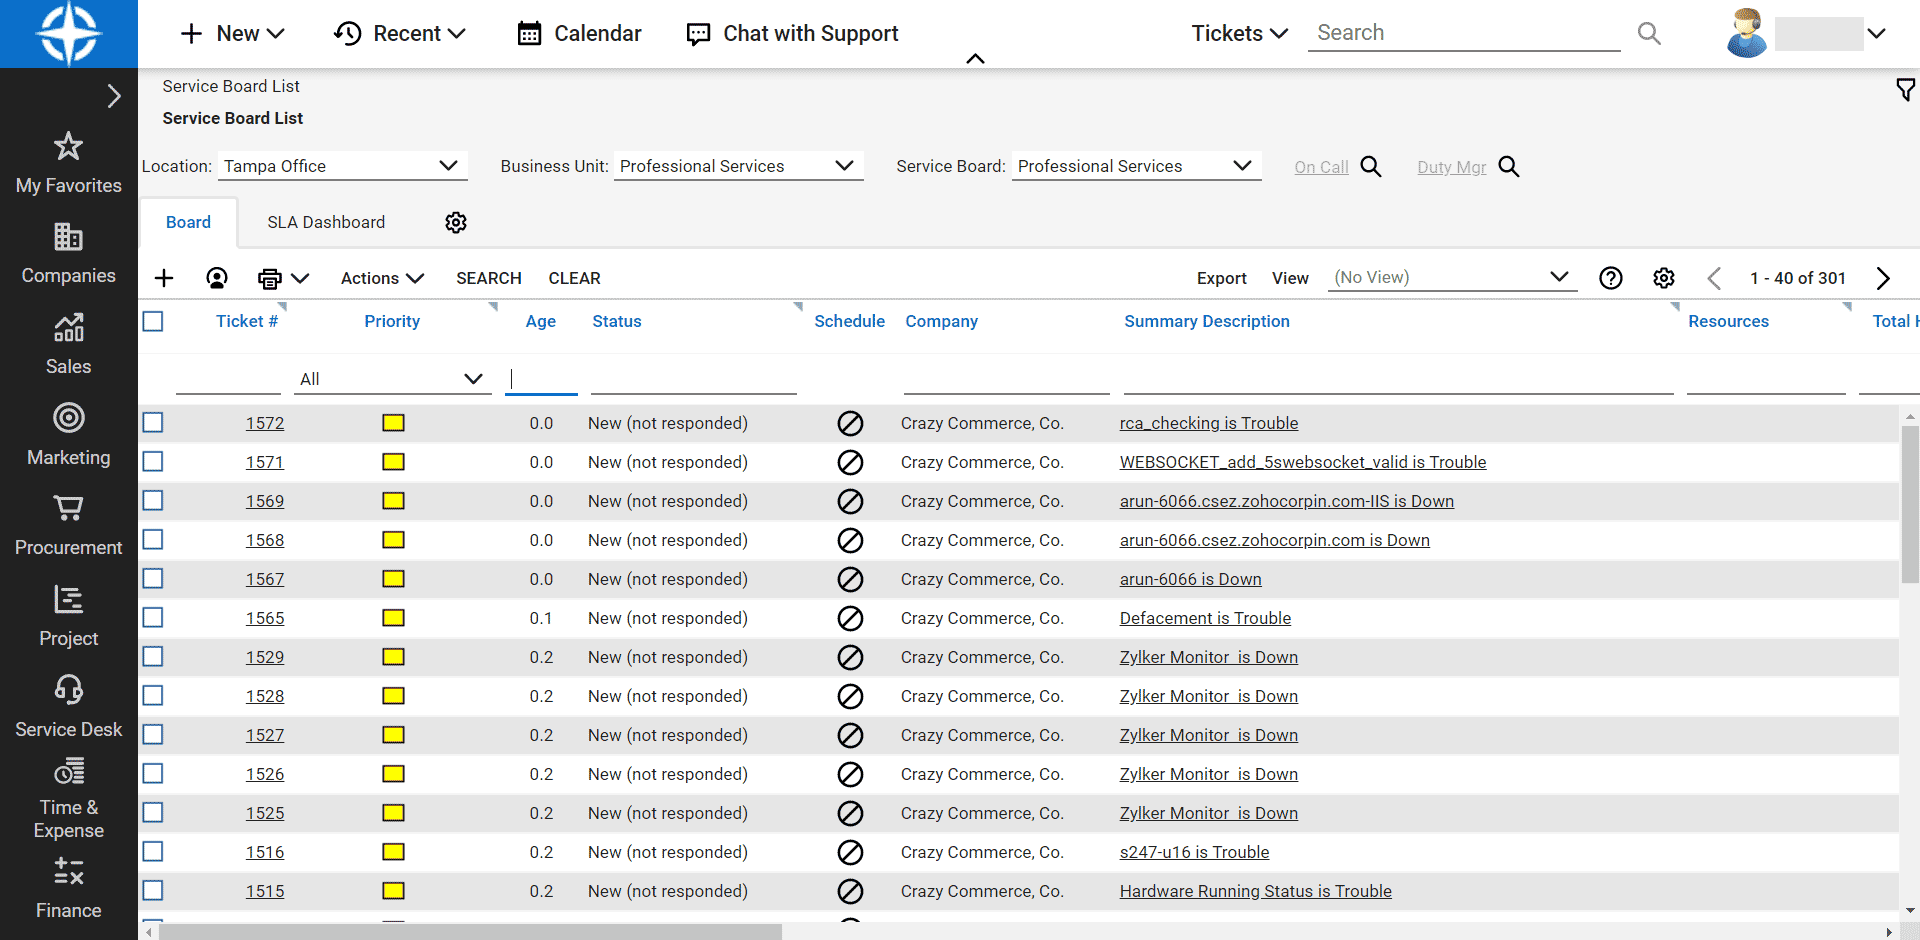
After a successful integration, Site24x7 status alerts are posted to the ConnectWise Manage Instance URL, which in turn, creates incident tickets in the ConnectWise Manage account. You can acknowledge an incident ticket, delegate it to someone, or even delete it permanently. You can gather more insight into the alert and resolve issues faster. After an outage, when a Site24x7 monitor's status changes to Up, the relevant incident ticket closes automatically or can be closed manually inside the ConnectWise Manage dashboard.
